This blog post is all about Kubernetes which is an open-source platform that helps to manage container workloads in Cloud. Here, In this Kubernetes Tutorial, we help you to learn Kubernetes from the scratch.
Kubernetes has emerged as one of the most exciting technologies in the world of DevOps that has gained a lot of attention of the DevOps professionals. Kubernetes, or commonly known as k8s, is an open-source, portable and extensible platform, for managing containerized workload and services. This container orchestration system is put to automating the deployment, scaling, as well as management of the application.
As one of the top DevOps tools, the primary aim of Kubernetes is to provide a platform that allows streamlining of deployment, scaling, and operations of application containers across a cluster of hosts. Plenty of cloud services provide Kubernetes based platform as a service (PaaS) as well as infrastructure as a service (IaaS).

Currently, Kurbenetes works with a plethora of tools like Docker. Kubernetes has helped in optimizing the app development for cloud, and naturally, many professionals are driven to learn Kubernetes and excel in it. In this article, we’ll help you understand the basics of Kubernetes through an introduction to Kubernetes
Introduction to Kubernetes
The introduction to Kubernetes first happened in the year 2014, by none other than the technology giant Google. A few Google engineers worked upon it, alongside Brendan Burns, Joe Breda, and Craig McLuckie. The design and development of Kubernetes relied heavily upon the Borg System of Google. Incidentally, a majority of the contributors had already worked upon Borg.
The project was initially given the name of Project Seven of Nine, based on a Star Trek reference. The logo contains seven spokes, which stand for that codename. They used C++ language to write the original Borg project. However, the rewritten system is implemented in Go. Kubernetes v1.0 was introduced in 2015 for use. Google, along with the release, decided to partner with Linux Foundation.
Together they formed the Cloud Native Computing Foundation, and Kubernetes was on offer as a seed technology. By March 2018, Kubernetes reached the 9th place in commits at GitHub and 2nd in authors and issues to Linux Kernel.
What are the Kubernetes objects?
It is essential to learn Kubernetes objects to understand how Kubernetes works. The Kubernetes operates as a set of building blocks that that collectively provide a mechanism for applications. It is extensible and loosely coupled to meet up the different workload expectations. The Kubernetes Objects are the resources that help to exert control over the computer and storage resources.
The key objects are:
- Pods: Pod is the basic scheduling unit of a Kubernetes. A single pod can consist of a single or even more container that are co-located on the same host machine and can easily share resources. It can add a higher level of abstraction by grouping containerized components. Each pod also has a unique Pod IP address.
- Services: A set of pods, that can work together, as one tier or even multi-tier is known as Kubernetes services. Kubernetes can provide two modes of service discovery, using Kubernetes DNS or using environmental variables.
- Volumes: In the Kubernetes container the filesystems provide ephemeral storage. It implies that upon restarting the container will wipe out the data, making the storage very limiting. However, the Kubernetes volumes provide lifelong storage in the pod itself.
- Namespaces: To ensure that the non-overlapping of resources, Kubernetes provides a partition known as namespaces. They can be used in the case of many users, teams, or projects.
How does Kubernetes work?
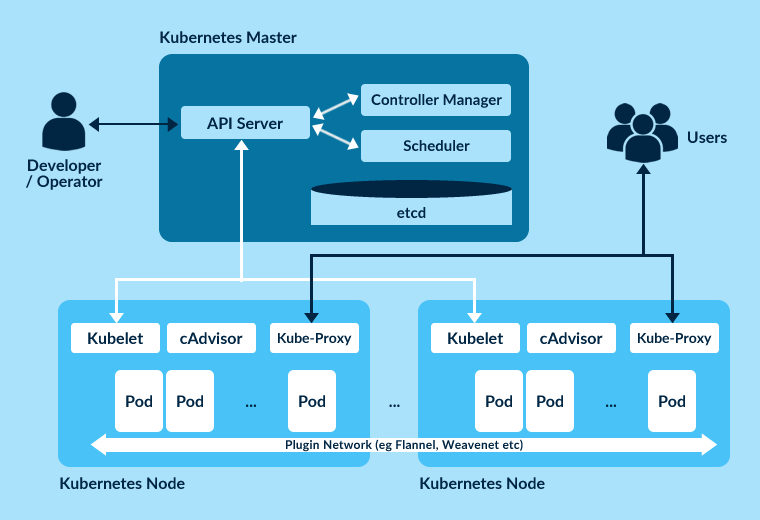
The Kubernetes has a primary/replica architecture. Kubernetes architecture consists of a lot of components. These components can be divided into the ones that manage an individual node, and the others are a part of the control plane. It is essential to understand the architecture if you wish to learn Kubernetes.
Key areas of Kubernetes architecture are:
-
Kubernetes Node:
A node is a machine which deploys the workloads or containers. It is also commonly referred to as a Minion or Worker. Each node is the cluster needs to run a container runtime like Docker. Apart from that, it requires a series of other components for easy communication with the primary, for network configuration of these components. The other components are:
- Kubelet: A kubelet is a component that ensures that each node is in a running state and that all the containers are healthy. The process of stating, stopping, and maintaining application containers is taken care by kubelet. It monitors the state of the pod, and if they are not in the desired state, the pod re-deploys the same node.
- Kube-proxy: The Kube-proxy handles the implementation of a load balancer and a network proxy. The primary aim of this component is to route traffic to the right container on the basis of IP and port number.
- Container runtime: A container resides inside the pod. A container is the lowest level of micro-services. It ideally holds running applications, libraries, and their dependencies.
-
Kubernetes Control Plane:
The primary or the control plane is the major component of the Kubernetes architecture. It is responsible for managing the workload and directing the communication across the systems. The control plane consists of various parts, each having its own process. They can run either on a single primary node and also on multiple primaries supporting high-availability clusters. The various components are:
- etcd: etcd is a data store which a CoreOS can develop. It is lightweight, persistent, distributes, and stores key-value configuration data.
- API Server: The API server is yet another important component of the Kubernetes. It server Kubernetes using JSON, over HTTP. The API can provide for both the internal and external interface to Kubernetes.
- Scheduler: A schedule is a pluggable component which selects which node an unscheduled pod will run on, based upon the resource availability. It is the duty of the scheduler to make sure that the workload is not scheduled in excess of the available resources.
- Controller Manager: A controller is a reconciliation loop, that works to drive actual cluster state towards the desired cluster state. It is ensured by the management of the set of controllers.
-
Add-ons:
The add ons are run through pods and services, and they operate just like any other application that is running in a cluster. The only underlying difference here is that they implement the features of Kubernetes cluster. The few important add ons are:
- DNS
- Web UI
- Container resource monitoring
- Cluster-level logging
Kubernetes certifications are among the top 5 DevOps certifications. Read our previous blog to know about Top DevOps Certifications.
What are the Uses of Kubernetes?
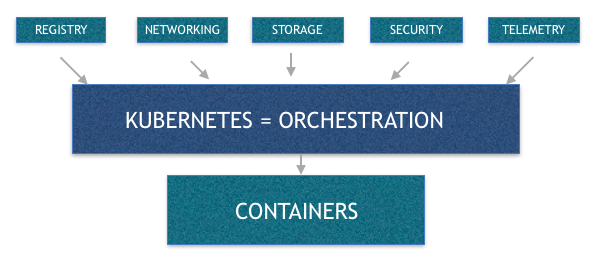
The production of real apps can span across multiple containers. These containers need to be deployed across multiple server hosts. Here, the problem arises that of the security for containers being multi-layered and complicated. Kubernetes come to the rescue here. It easily provides the management capabilities and orchestration which is required to deploy the containers at a scale. The orchestration allows one to build application services that can span over multiple containers, schedule these containers over clusters, scale these containers, and manage the health of these containers as well. By learning Kubernetes and using them, you can easily ensure IT security.
For better functioning, Kubernetes needs to be integrated with various other components as well. They are storage, network, security, telemetry, and many others. Only then it can provide a comprehensive and complete infrastructure.
Kubernetes can also fix many problems with container proliferation. It refers to the sorting of containers together in a pod. The pod adds a layer of abstraction to the grouped containers, which can help in scheduling workload and providing necessary services to these containers, like storage and network. Other components of the Kubernetes can help with loading the balance across these pods. They make sure that you have the right number of containers which are running to support the workloads.
What are the Advantages of Kubernetes?
With the introduction of Kubernetes, the developers enjoy many benefits. Majorly, it provides the platform to schedule and also runs a container on clusters of physical or virtual machines. Furthermore, it can also help in fully implementing and relying on the container based infrastructure. Since the Kubernetes runs on automation od the operational tasks, it allows you to do the same things like other platforms, but for the containers.
Some major advantages to learn Kubernetes are:
- Make better use of the hardware to maximize the resources needed to run enterprise apps
- Orchestrate containers over multiple hosts
- Mount or add storage to run apps
- Control and automate application deployment
- Scale the containerized applications
- Health check and also self-heal the apps
How to Learn Kubernetes?
If you pose a keen interest in learning Kubernetes, and to make use of the technology, you can avail proper tutorials. The tutorial covers all the basic of the Kubernetes orchestration systems. It includes a few modules which contain background information about the features, concepts, and also offers an interactive online study material. This tutorial will help a candidate to lean Kubernetes, and master the task of managing a simple cluster, and also the containerized applications.
The online tutorials teach about:
- Deploying a containerized application on a cluster
- Scale the deployment
- Update the application with a new version of the software
- Debug the containerized application
Let us also see how to deploy Kubernetes clusters on MacOS using “minikube” which is intended for the development purpose.
What is Minikube
Minikube is a utility allowing you to run Kubernetes(K8s) on the local machine. Minikube runs a single node cluster on the local machine so that we can try Kubernetes locally while developing the applications. Minikube is useful for those who are new to K8s and it enables you to try out Kubernetes deployments and test configurations.
Kubernetes Basics
Let us recollect some of the basics before starting to install the minikube.
How to install Minikube?
Step 1:
Run the following command to check if virtualization is supported on the MacOS.
sysctl -a | grep machdep.cpu.features
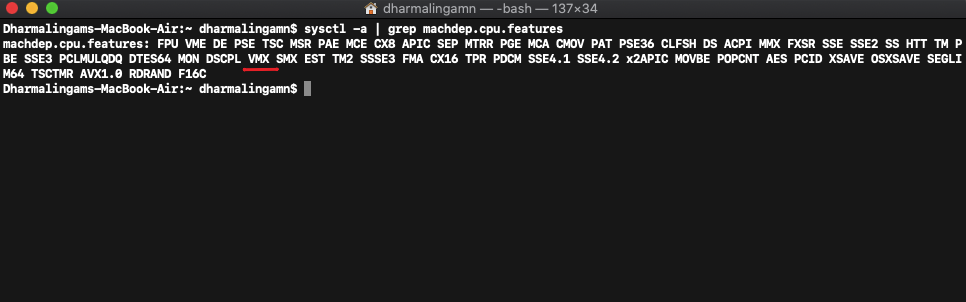
If you see the VMX in the output, the virtualization feature is enabled on your system.
Step 2:
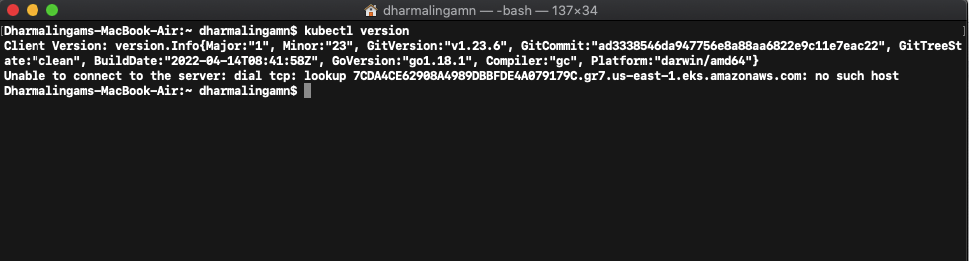
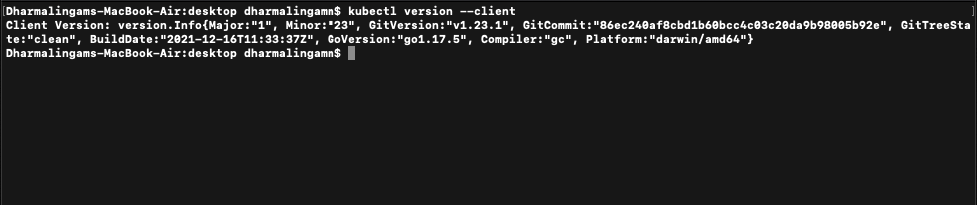
We need to install kubectl. If you have already installed it, please confirm by running the command:
kubectl version
If not, install the kubectl by running the following command:
brew install kubectl
Step 3:
In this step, we will install Hypervisor. Various hypervisors are available, install any of the following.
- Hyperkit
- VirtualBox
- VMware Fusion
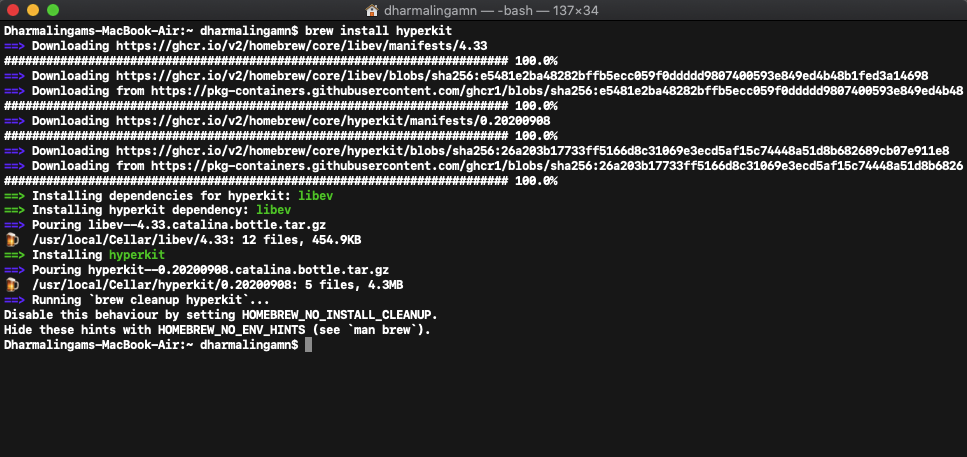
Run the following command to install the Hyperkit.
brew install hyperkit
To verify that we have installed both kubectl and hyperkit, let’s run the following command.
brew list

Step 4:
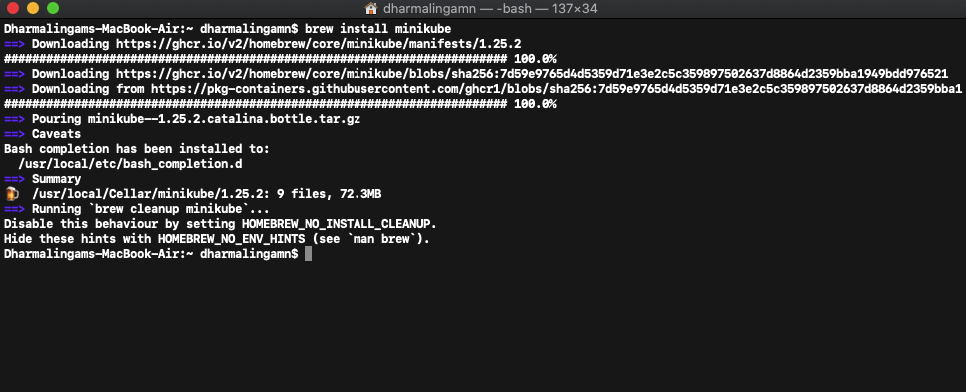
We have installed the necessary tools. Now, let’s install the minikube. Run the following command to install the minikube on MacOS.
brew install minikube
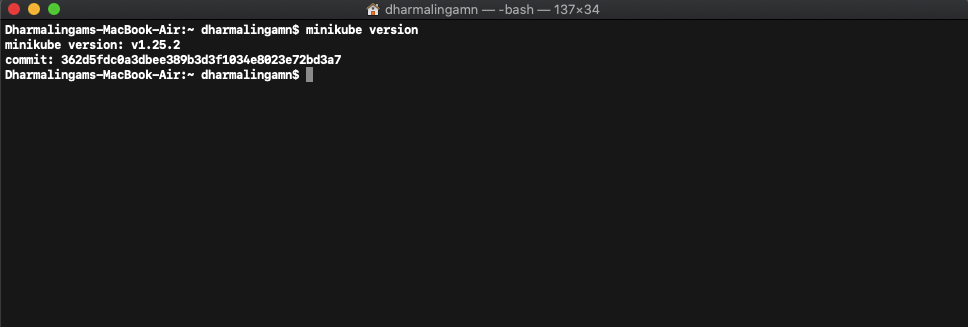
Run the following command to make sure the minikue is installed successfully.
minikube version
Step 6:
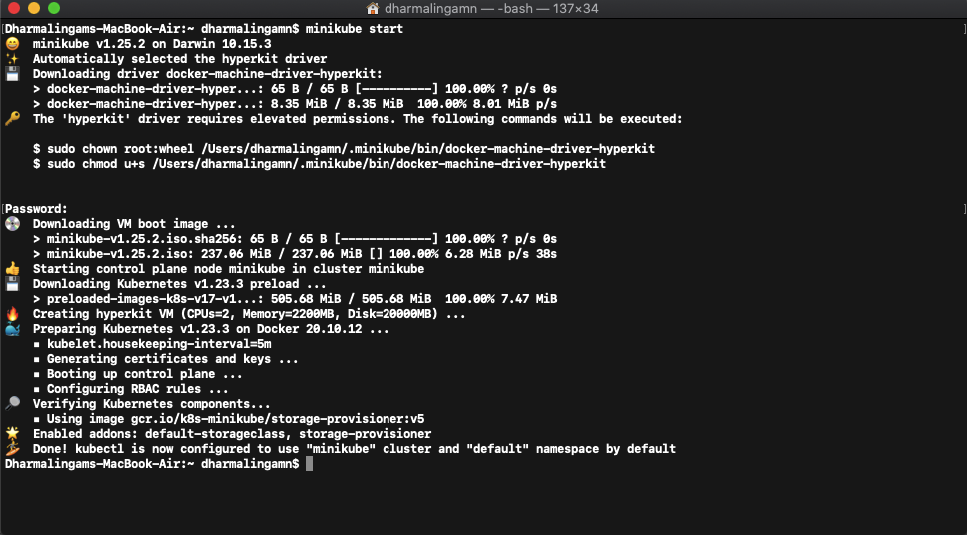
We have successfully installed the minikube. Let’s start the minikube by running the following command.
minikube start
We can verify the status of minikube by running the following command.
minikube status
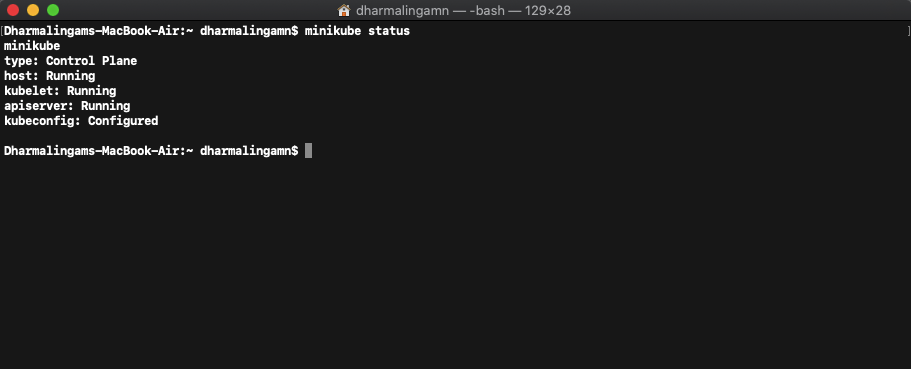
Now, we have successfully installed Minikube and are ready to play with Kubernetes local cluster.
How to install Kubernetes on Ubuntu with kubeadm
In this tutorial, we will see how to install Kubernetes on Ubuntu 20.04.
Kubernetes works on various cloud platforms or even on-premise servers. K8s works by managing clusters at scale. A cluster is a set of hosts running containerized applications and services.
For this tutorial, I have created two Ubuntu EC2 instances on Amazon Web Services (AWS). You can utilize Whizlabs HandsOn Labs platform to create instances and learn to install Kubernetes.
Prerequisites before installing Kubernetes on Ubuntu
- 2 or more Ubuntu 20.04 Linux servers. The minimum system requirements for Kubernetes is 2CPUs and 2 GB of RAM
- SSH access to the servers with root privileges
- One server will act as a master node and the other will act as a worker node.
- Both servers needs to be able to connect with each other
- Docker installed on both of the nodes. (If you don’t have the Docker installed, you can follow this article and install Docker container to proceed further)
Installing Kubernetes on Ubuntu 20.04
I assume that you have the above set up and ready to install kubernetes on it. Let’s see the steps involved in installing kubernetes. Please remember that the following steps need to be run on both the Ubuntu nodes.
Step 1: Install Packages
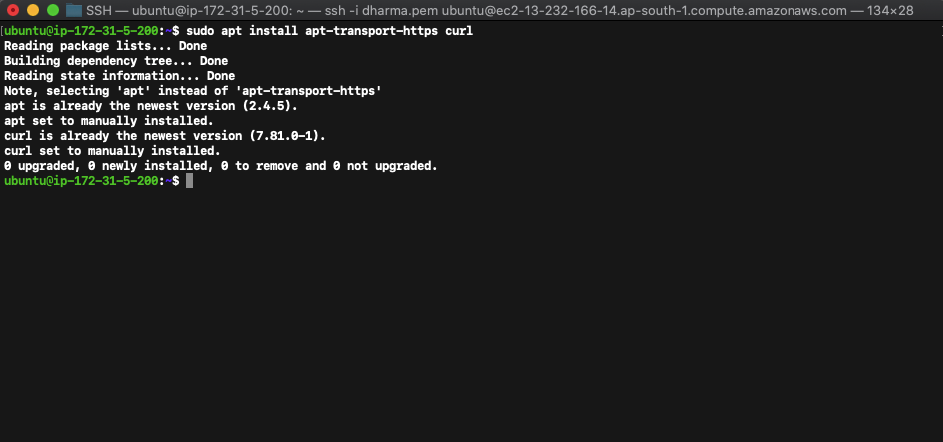
Connect to the nodes using SSH connection and run the following commands one by one on both systems.
sudo apt install apt-transport-https curl
echo “deb https://apt.kubernetes.io/ kubernetes-xenial main” >> ~/kubernetes.list sudo mv ~/kubernetes.list /etc/apt/sources.list.d

After running the above commands, let’s update the nodes once.
sudo apt update
Step 2: Install Kubernetes Tools
In this step, we will be installing the kubernetes tools kubectl, kubeadm, kubelet, kubernetes-cni on both the nodes.
Installing Kubectl
The kubectl is the kubernetes command line tool that allows us to run the commands inside a cluster.
sudo apt install kubectl
If you get the error, try running the command apt-get-update and then run this command again.

On a successful install, you’ll get the below message on the terminal.
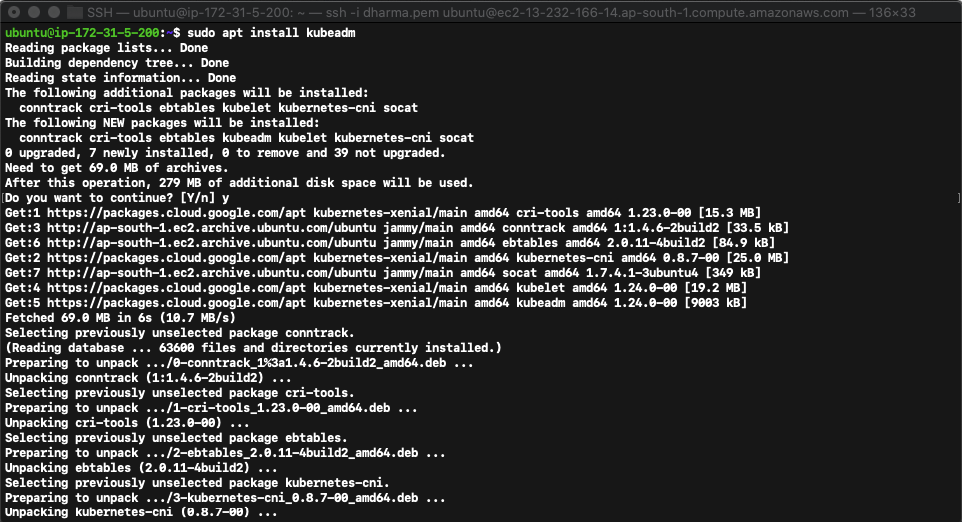
Installing Kubeadm
Kubectl is a tool developed and maintained by the official Kubernetes(K8s) community. Kubeadm helps setting up a minimum viable kubernetes cluster without much complex configuration.
sudo apt install kubeadm
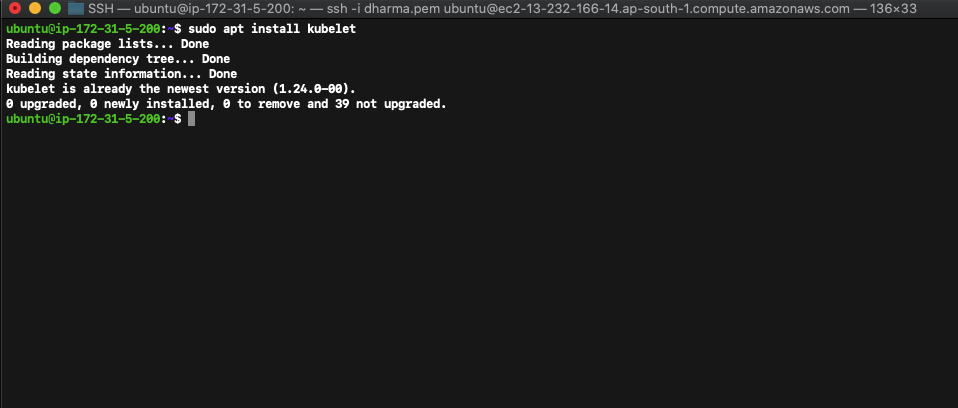
Installing Kubelet
Kubelet is an agent that will be running on each node and handles the communication between the master node and worker nodes.
sudo apt install kubelet
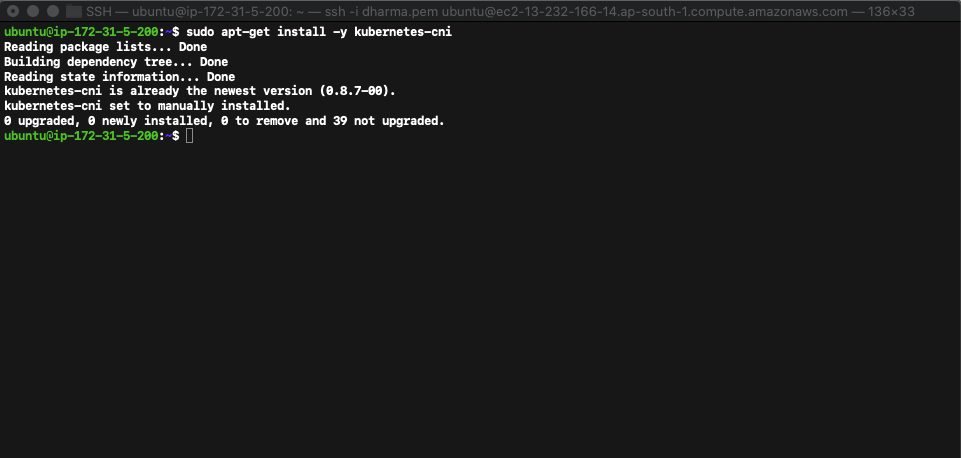
Installing kubernetes-cni
The kubernetes-cni enables the networking and communication between the containers.
sudo apt-get install -y kubernetes-cni
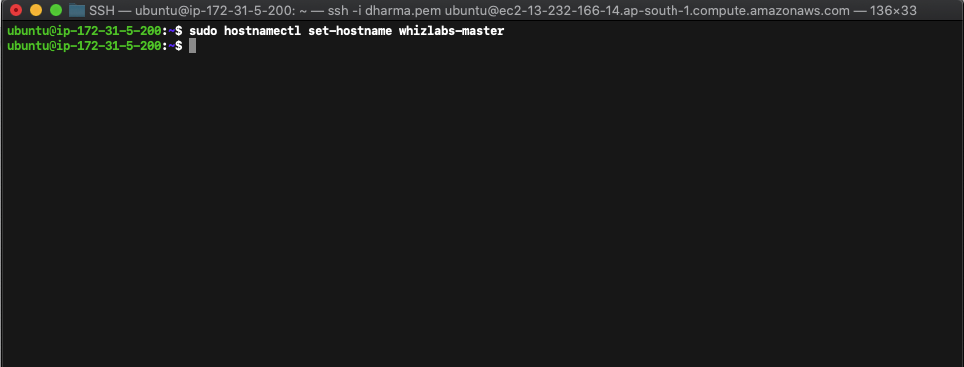
Step 3: Setting up the hostnames
For easier identification, we can set unique hostnames to the nodes. For this tutorial, I have named the nodes as whizlabs-master and whizlabs-worker.
You can set the hostnames as you wish by running the following command.
sudo hostnamectl set-hostname whizlabs-master
To set the hostnames for the worker, run the following command.
sudo hostnamectl set-hostname whizlabs-worker
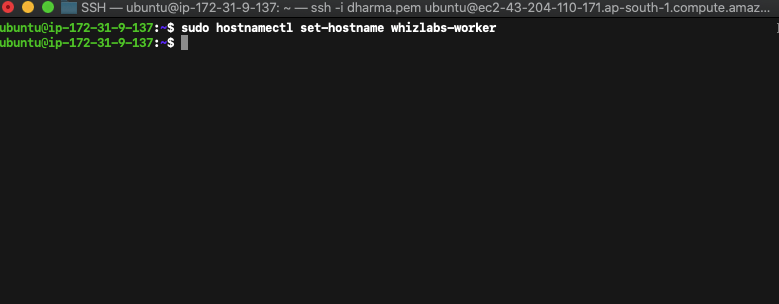
Make sure you run these commands on respective machines. Run the first command on the node which you want to use as a master and the second on a worker node.
Step 4: Disable swap memory
The swap memory must be disabled on all the nodes to run kubernetes.
sudo swapoff -a
The above command will disable the swap memory temporarily or until the system reboot. We can permanently disable the swap memory by making the changes to fstab file.
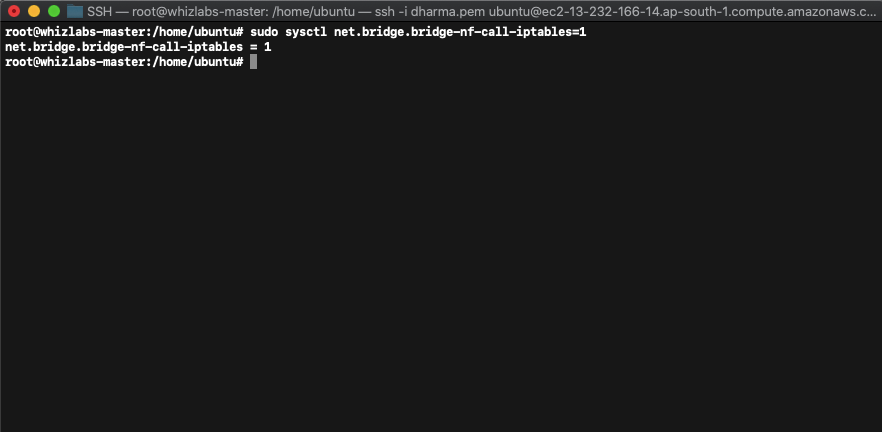
Step 5: Let Iptables see bridged traffic
Run the following commands one by one. We need to set the value to 1 for the master and worker nodes to correctly see bridged traffic.
lsmod | grep br_netfilter
sudo modprobe br_netfilter
sudo sysctl net.bridge.bridge-nf-call-iptables=1
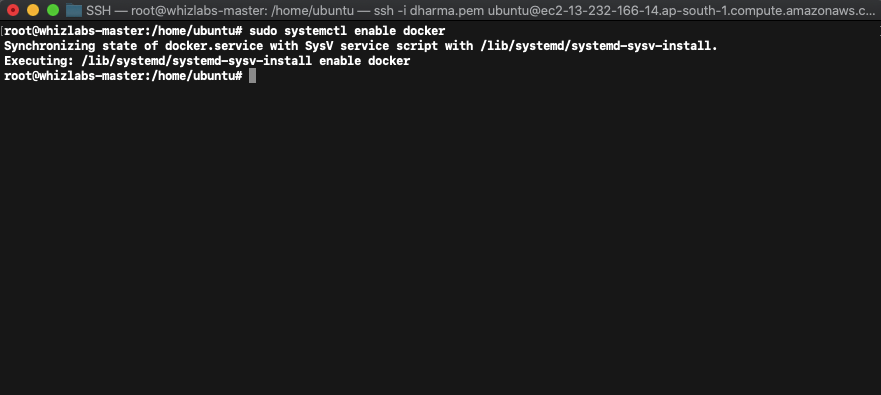
Step 6: Docker driver setup
Kubernetes recommends that the docker should run with systemd as the driver.
sudo mkdir /etc/docker
cat <<EOF | sudo tee /etc/docker/daemon.json
{ “exec-opts”: [“native.cgroupdriver=systemd”],
“log-driver”: “json-file”,
“log-opts”: { “max-size”: “100m” },
“storage-driver”: “overlay2”
}
EOF
Also run the following commands to enable docker on the system bootup.
sudo systemctl enable docker
sudo systemctl daemon-reload
sudo systemctl restart docker
Step 7: Initialize the Kubernetes Master Node
Run the following command on the master node.
sudo kubeadm init –pod-network-cidr=10.1.0.0/16
Step 8: Deploying a POD network
Let us check the firewall status and deploy a POD network. The default port for the kubernetes is 6443. So, we need to add a firewall rule on the both master and worker nodes to allow 6443. Run the following command to add firewall rules.
sudo ufw allow 6443
sudo ufw allow 6443/tcp
To deploy a pod network, run the following commands on the master node.
kubectl apply -f https://raw.githubusercontent.com/coreos/flannel/master/Documentation/kube-flannel.yml
kubectl apply -f https://raw.githubusercontent.com/coreos/flannel/master/Documentation/k8s-manifests/kube-flannel-rbac.yml
To check if all the services are running as expected, run the following command:
kubectl get pods –all-namespaces
Step 9: Join worker nodes to the cluster
Now, we have one master node and one worker node. Login to the worker node and run the following command:
sudo kubeadm join 127.0.0.188:6443 –token u81y02.91gqwkxx6rnhnnly –discovery-token-ca-cert-hash sha256:4482ab1c66bf17992ea02c1ba580f4af9f3ad4cc37b24f189db34d6e3fe95c2d
Now, go back to the master node and check if the worker node is showing on the cluster.
kubectl get nodes
We have successfully set up the kubernetes cluster. Our cluster is now ready to run the applications on it. You can now start creating the kubernetes deployments and test the applications in real time.
To try a sample application deployment, you can run the following command to deploy the nginx web server.
kubectl create deployment nginx –image=nginx
The above command will deploy the application. To make the service accessible to the internet, we need to create a service. For that, we need to run the following command to expose the port 80.
kubectl create service nodeport nginx –tcp=80:80
Try these commands and learn to install Kubernetes on Ubuntu 20.04 .
Summary
Though the concept of containers has existed for over a decade now, its popularity is only recent. Mainstream Unix-based operating systems had built-in support for the containers, but it was truly only Docker that could democratize the containers by making them accessible and manageable. Kubernetes is based on 15 years worth of experience of running production workloads at Google.
The container orchestration has significantly impacted each and every aspect of the modern day software development and deployment. Kubernetes plays a major role in driving the adoption of containers in both successful enterprises as well as emerging startups.
If you want to learn Kubernetes and give your DevOps career a new edge, join Kubernetes online course and become an expert on Kubernetes with AWS and Docker.
Have any questions? Just write in the comment section below or submit at Whizlabs Helpdesk, we’ll be happy to answer you.
- Top 10 Highest Paying Cloud Certifications in 2024 - March 1, 2023
- 12 AWS Certifications – Which One Should I Choose? - February 22, 2023
- 11 Kubernetes Security Best Practices you should follow in 2024 - May 30, 2022
- How to run Kubernetes on AWS – A detailed Guide! - May 30, 2022
- Free questions on CompTIA Network+ (N10-008) Certification Exam - April 13, 2022
- 30 Free Questions on Microsoft Azure AI Fundamentals (AI-900) - March 25, 2022
- How to Integrate Jenkins with GitHub? - March 22, 2022
- How to Create CI/CD Pipeline Inside Jenkins ? - March 22, 2022