If you are preparing for Jenkins Certification, this Jenkins Tutorial for Beginners helps you to understand the basics of Jenkins installation on Amazon EC2. To learn about Jenkins in detail, you have to enroll in a Jenkins Certification Course which assists you to pass the actual certification exam within the first attempt.
If you spend more time on your learning, its easy to face your actual exam. In this article, let us learn how to download and install Jenkins on the Amazon EC2 instance. Here, we will use Amazon Linux AMI.
Prerequisites
Before starting to install Jenkins, let us see what kind of environment is needed to perform this task.
- Amazon Web Services (AWS) account credentials or IAM user credentials
- An amazon EC2 instance with internet access
- EC2 key-pair to connect via SSH
- Java installed on the instance
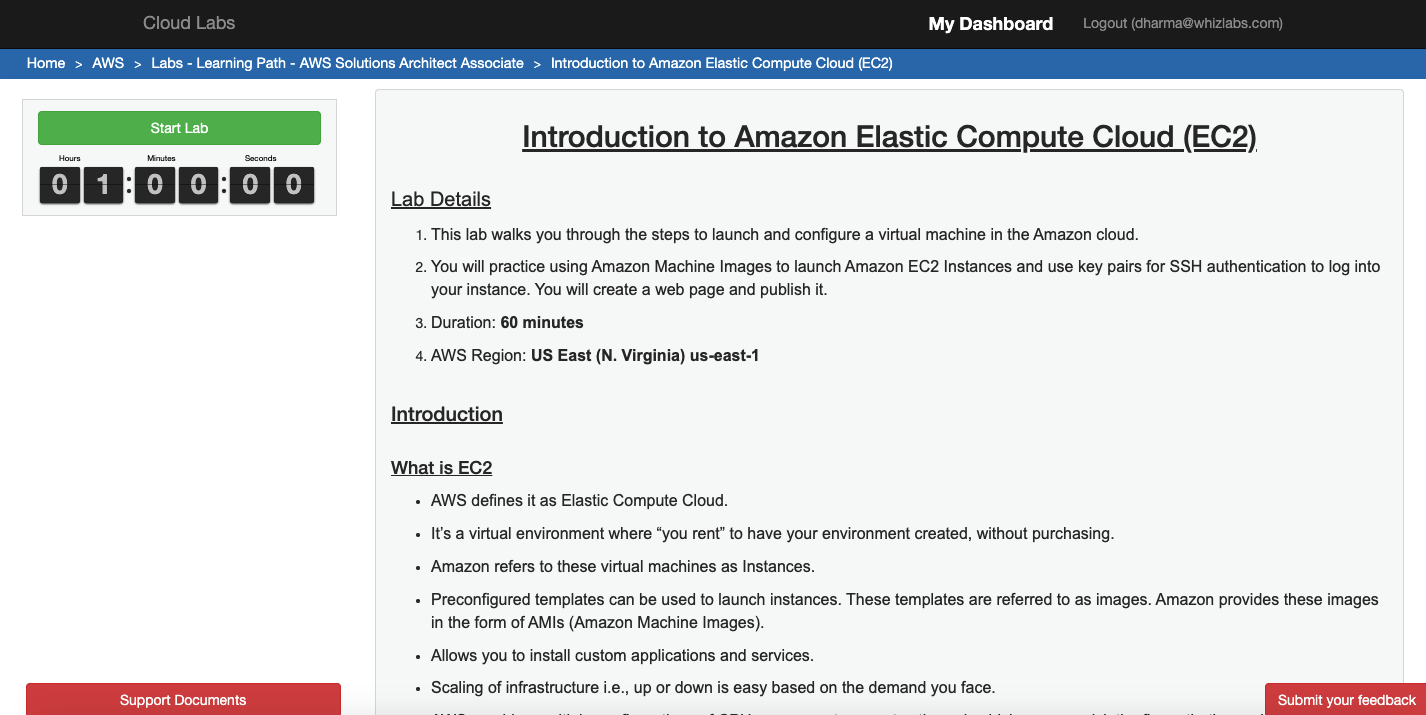
Let’s start with creating an instance. In my case, I am using Whizlabs’s Hands-On Labs environment to create an EC2 instance. If you already have an EC2 instance created, you can skip this step and connect via SSH and start downloading Jenkins.
If you need a temporary AWS credentials to perform this task, you can also use Whizlabs’s Hands-On Labs. I assume that you have an AWS credentials ready. Let’s start creating an instance.
Step 1 : Create an Amazon EC2 instance
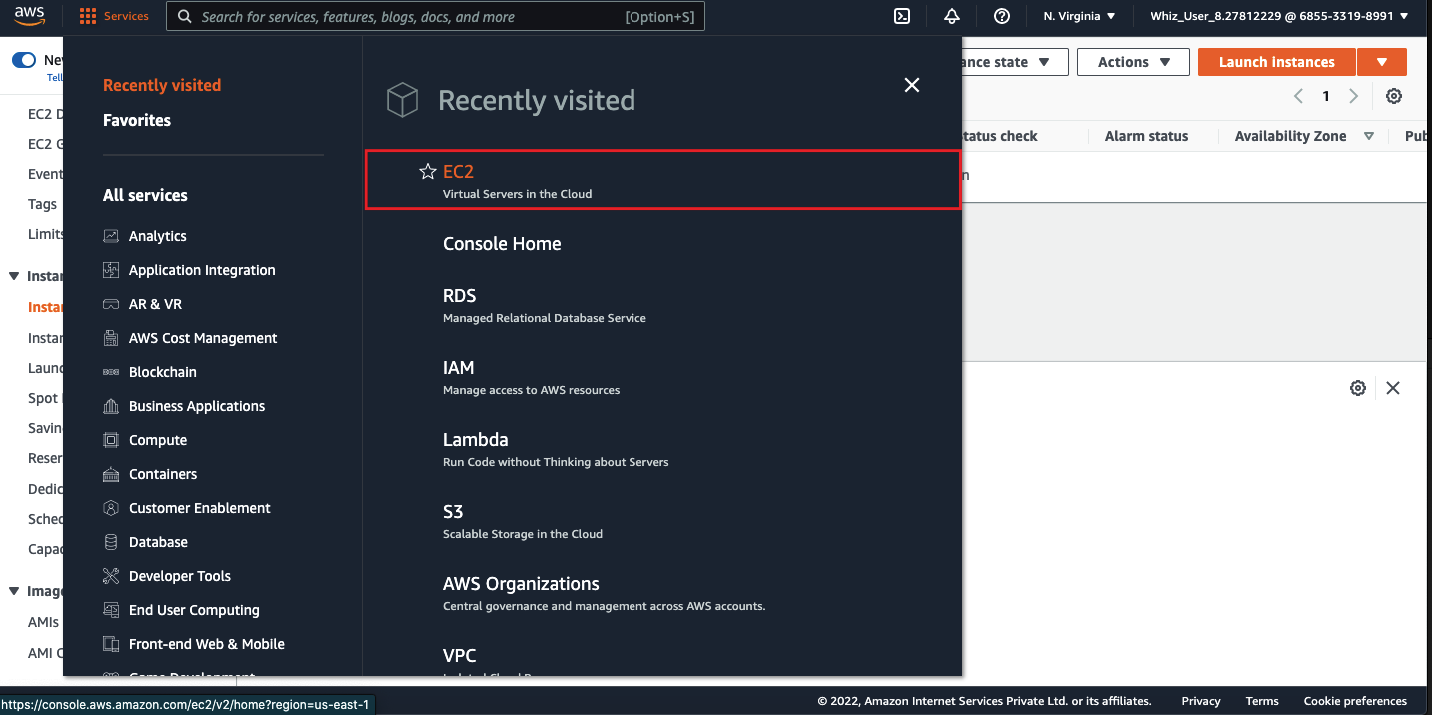
Login to AWS console and navigate to EC2 dashboard.
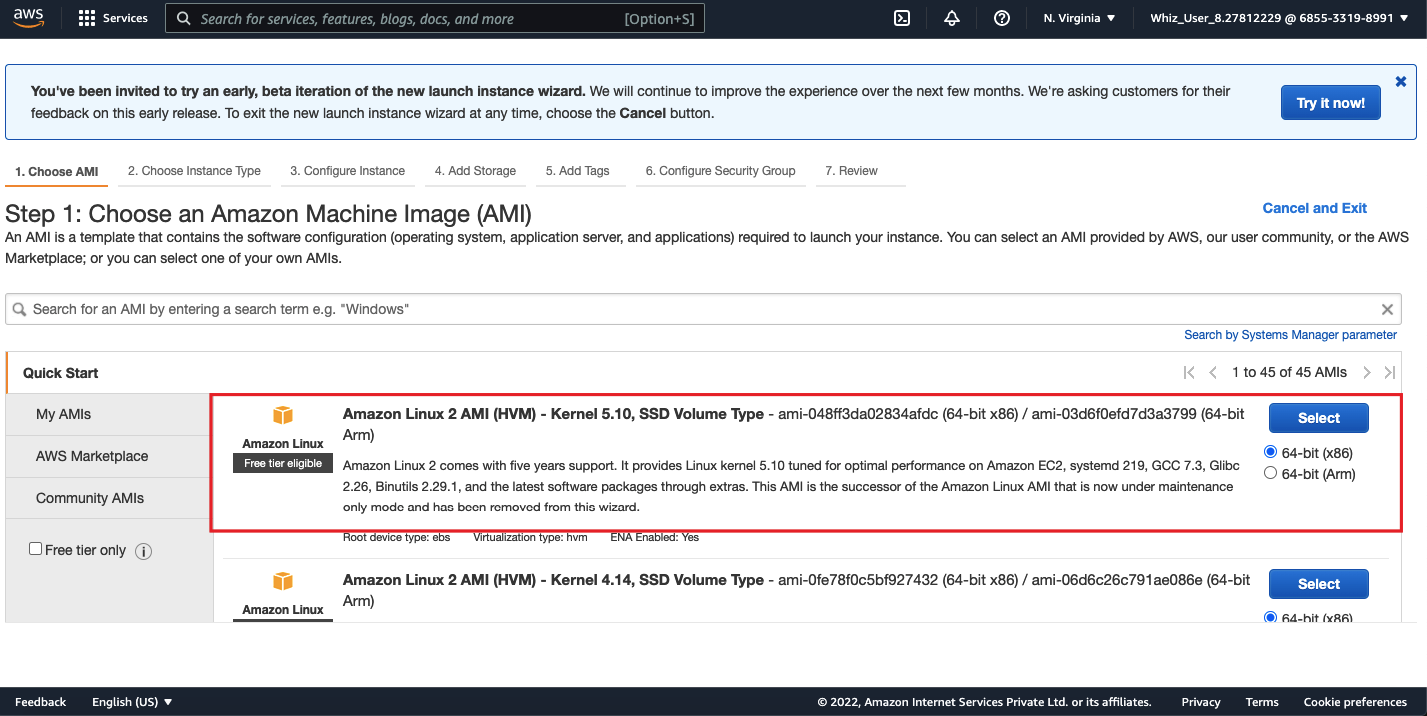
Click on the “Launch Instance” and select the image type, instance type and fill the other necessary details. In my case, I am using Amazon Linux.
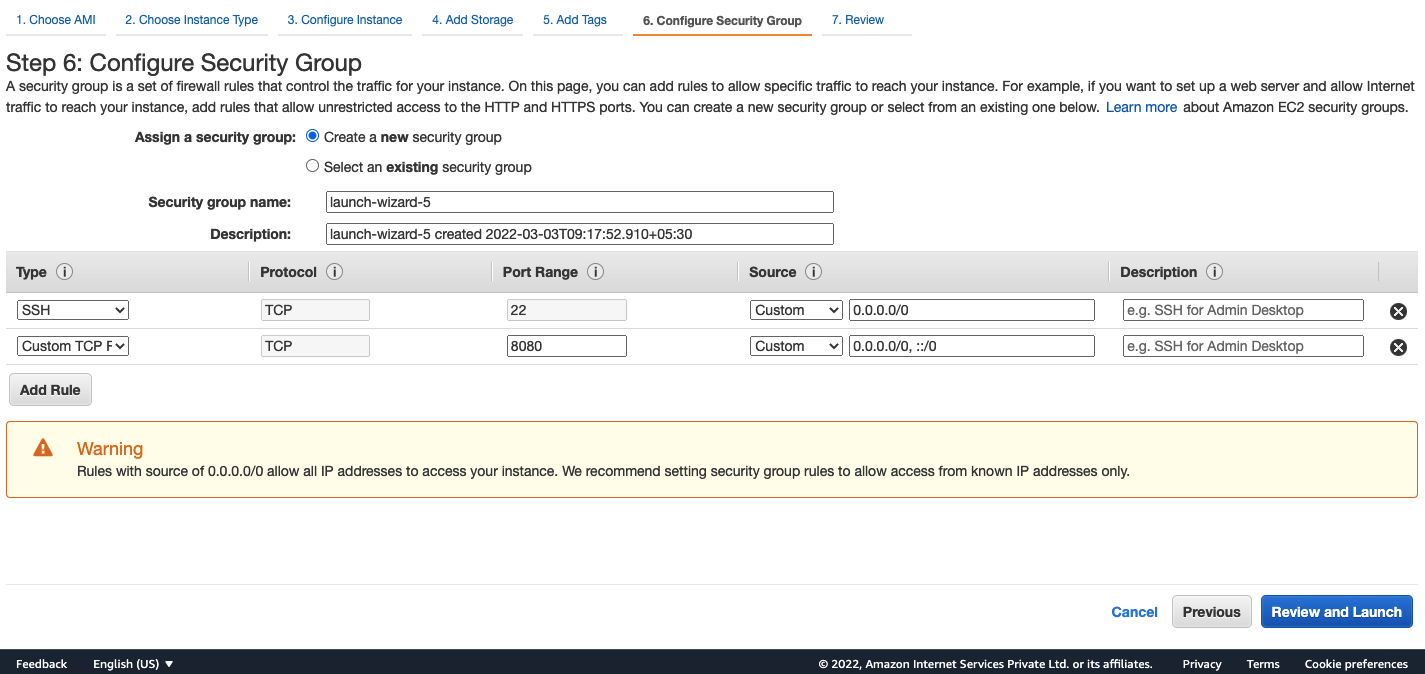
Let’s configure a security group. We will be installing Jenkins on this instance. By default, the Jenkins installation will run on the ports 8080 and 8443. So, in order to access the Jenkins after installation, we need to allow the port 8080 in our security group. Jenkins port can be changed later if needed. For now, let’s allow 8080 and launch the instance.
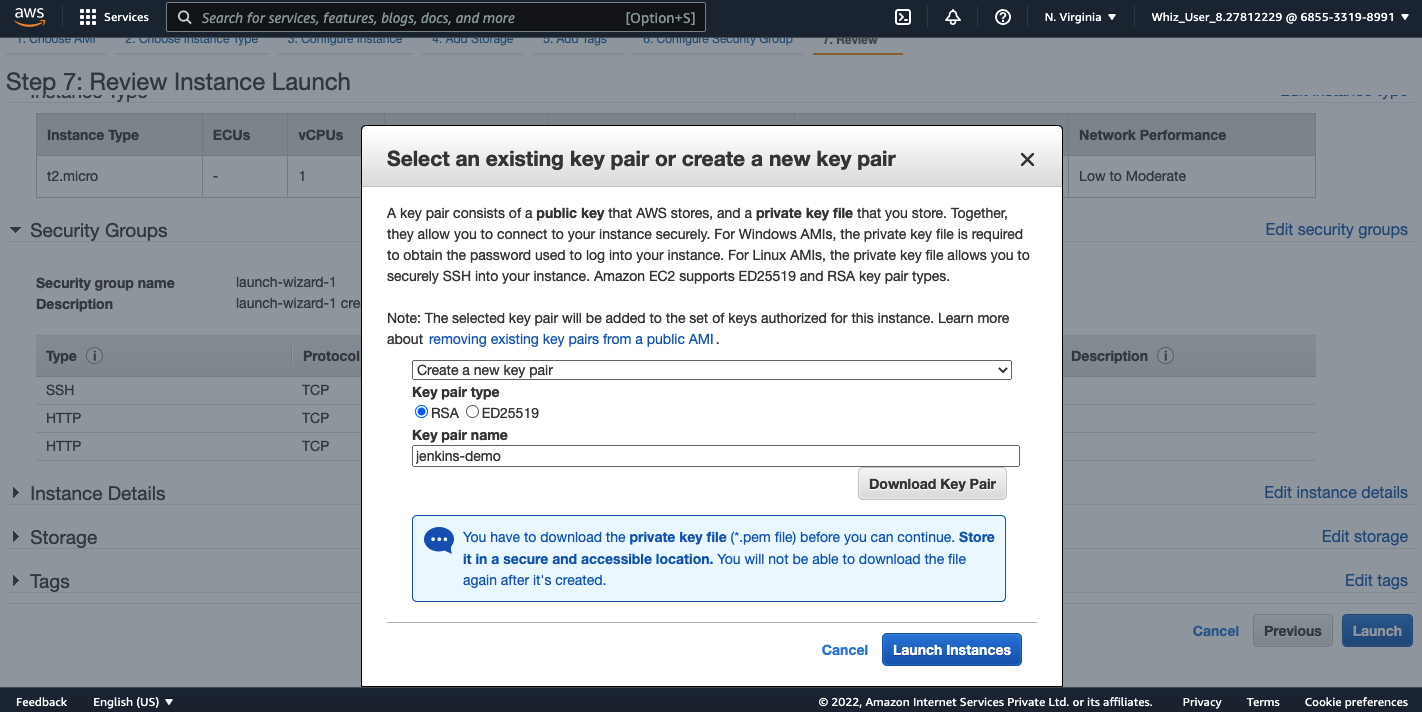
Download the keypair (which we will be using to connect via SSH) and launch the instance.
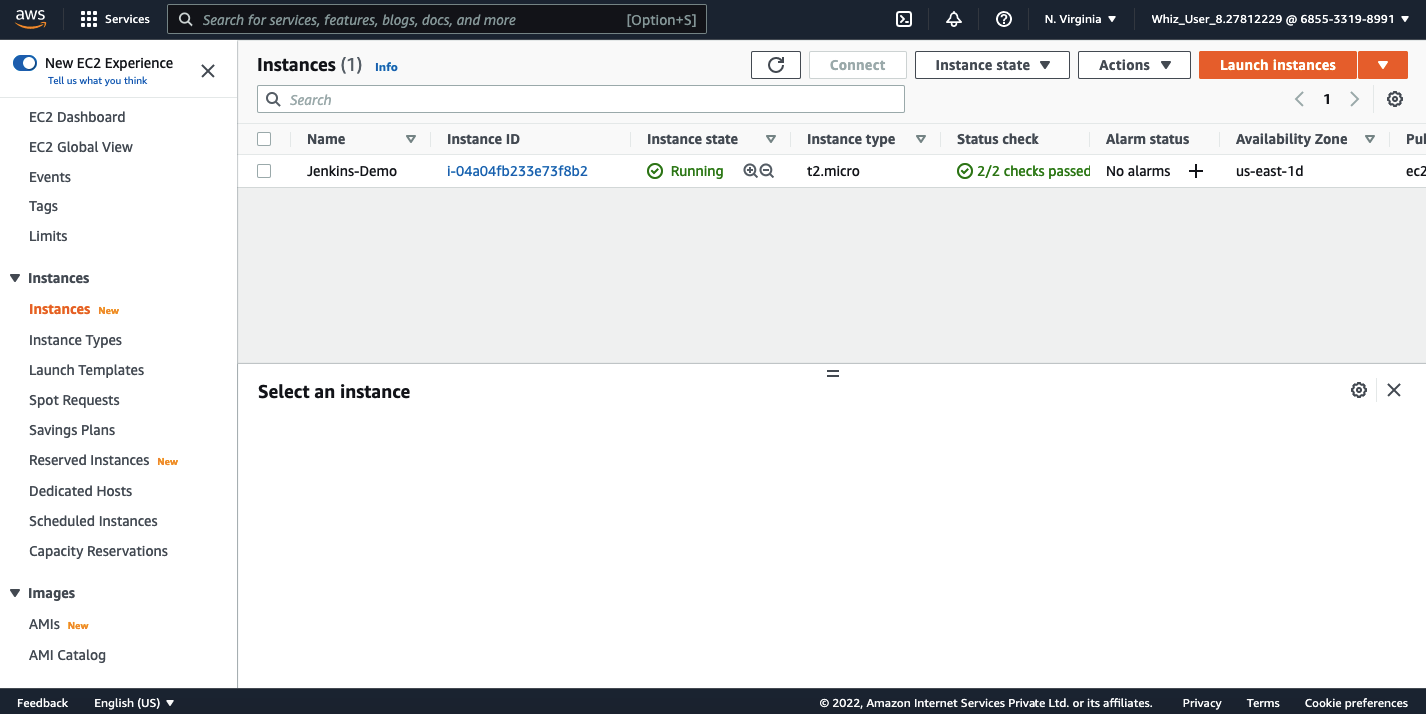
Now, we are done. We have successfully launched our EC2 instance. You should be able to see the instance status as running on the dashboard.
Step 2 : Download and Install Jenkins on EC2 Instance
Okay, now we have our instance ready. Let’s connect to the instance and start installing Jenkins on it.
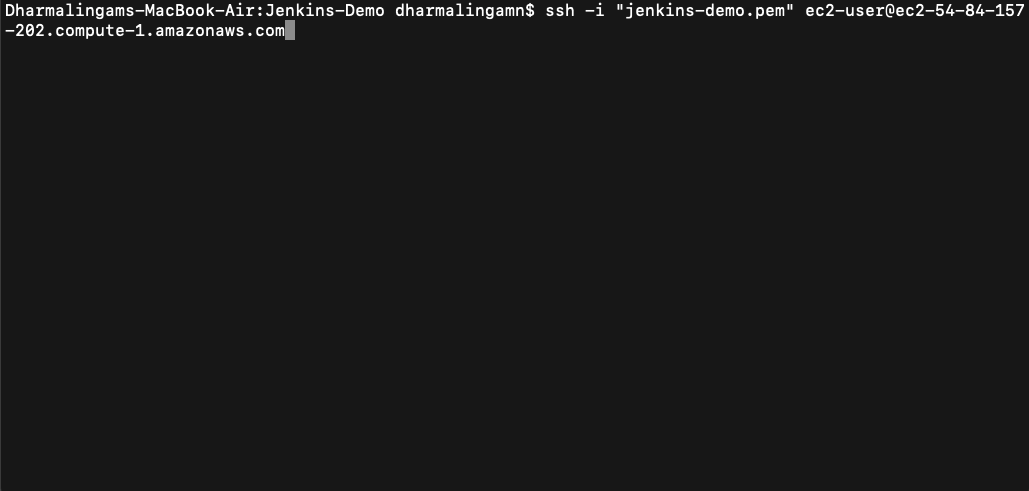
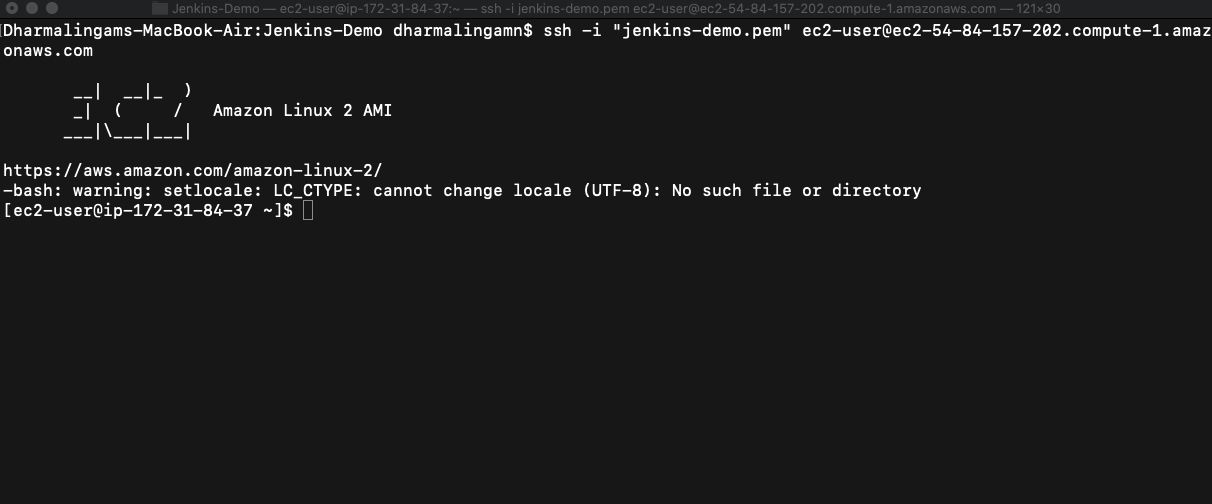
If you are on Windows system, you may need to use Putty to connect to the instance via SSH. I’m on Mac, so I am going to use my mac terminal and connect to the instance using the keyfile we have downloaded in the previous step.
Now, we have connected to our instance and we are on the Linux system which we have created. Let’s run the following command to update the packages.
sudo yum update
We need to install Java on the instance. Let’s install Java by running the following command.
sudo yum install java-1.8.0-openjdk
Click on yes when prompted and it will install Java. Run the following command to make sure the Java is installed.
java -version
Now, download latest Jenkins packages from Jenkins website. At the time of writing this article, Jenkins 2.319.3 is the latest version available.
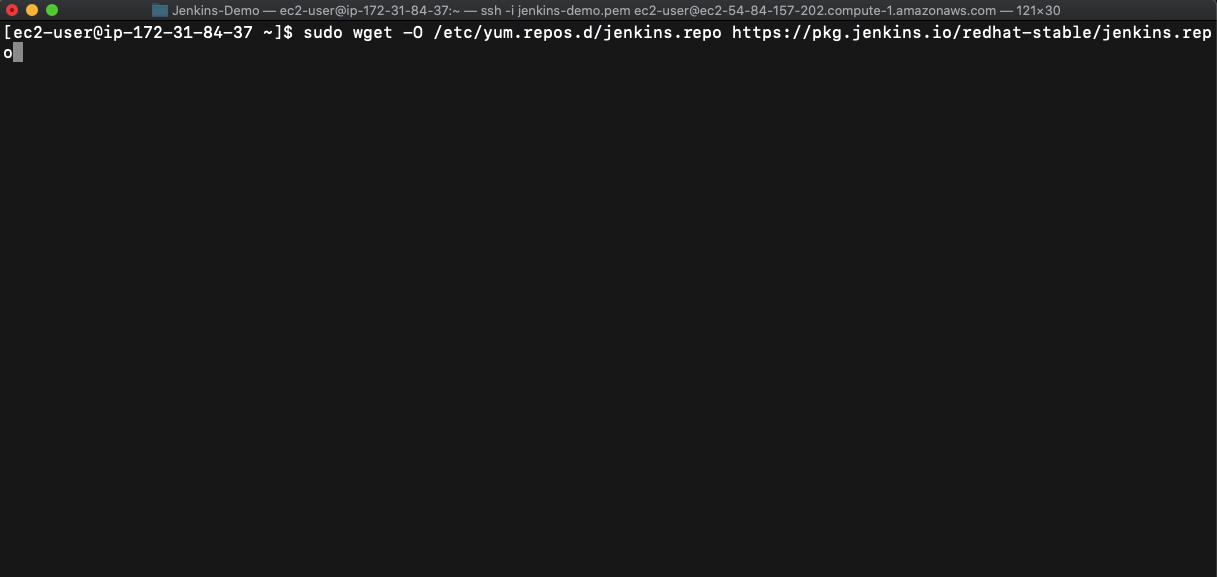
Run the following commands to download the package.
sudo wget -O /etc/yum.repos.d/jenkins.repo https://pkg.jenkins.io/redhat-stable/jenkins.repo
Now, run the below command to import a keyfile from Jenkins to enable installation from the downloaded package.
sudo rpm --import https://pkg.jenkins.io/redhat-stable/jenkins.io.key
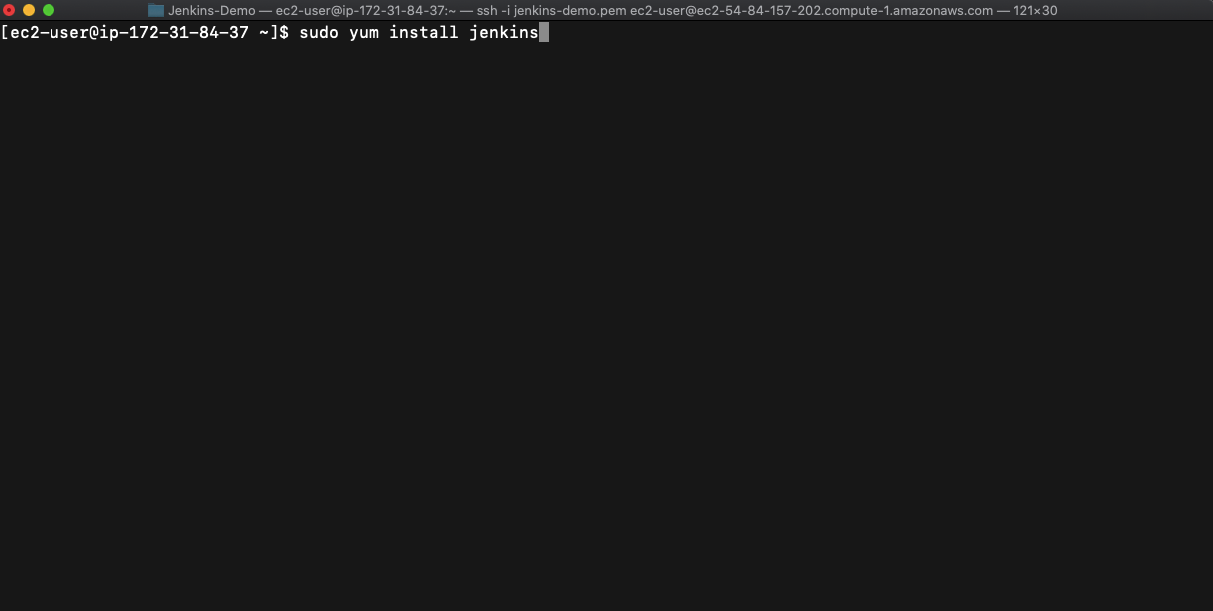
Run the below commands which will install the Jenkins. Click yes when prompted.
sudo yum install epel-release
sudo yum install java-11-openjdk-devel
sudo yum install jenkins
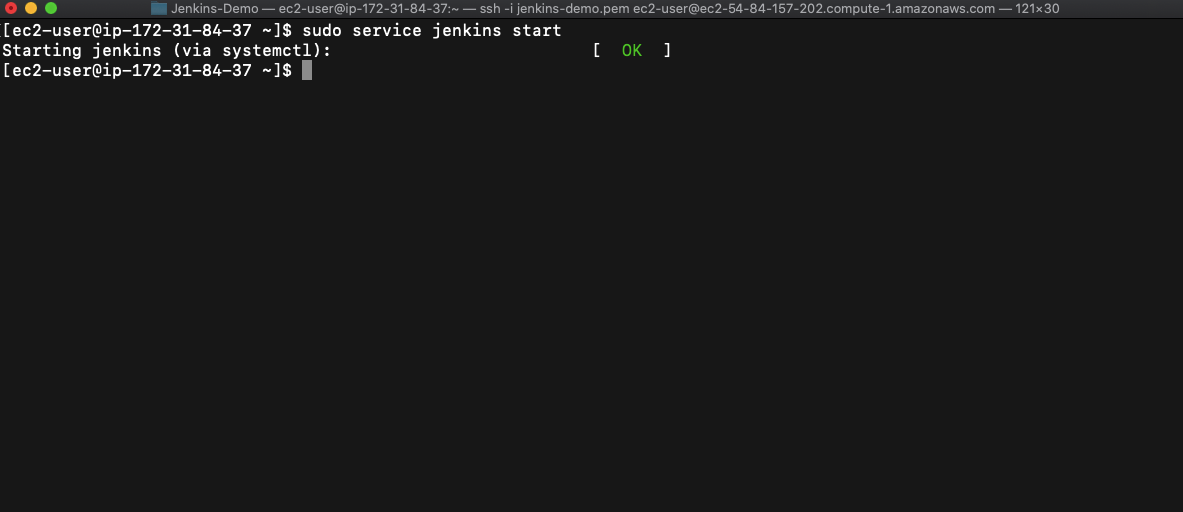
Jenkins has been installed successfully. To start the Jenkins, run the following command.
sudo service jenkins start
If you see the output as [OK] then the Jenkins service is now started and we have done with our installation.
Step 3 : Access Jenkins via Browser
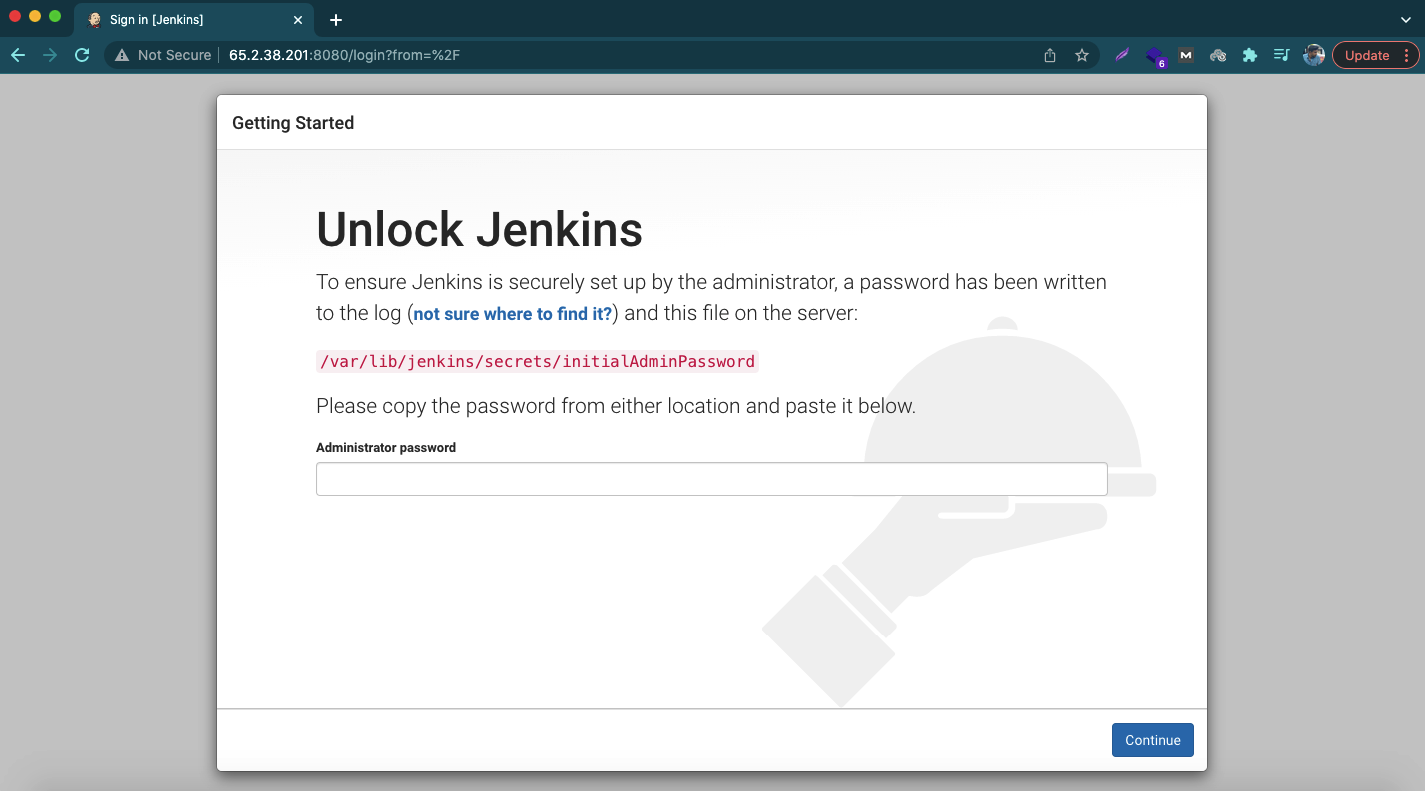
To access the Jenkins on a browser, copy the public IP address of your EC2 instance and go to the port 8080.
http://ec2-public-ip:8080/
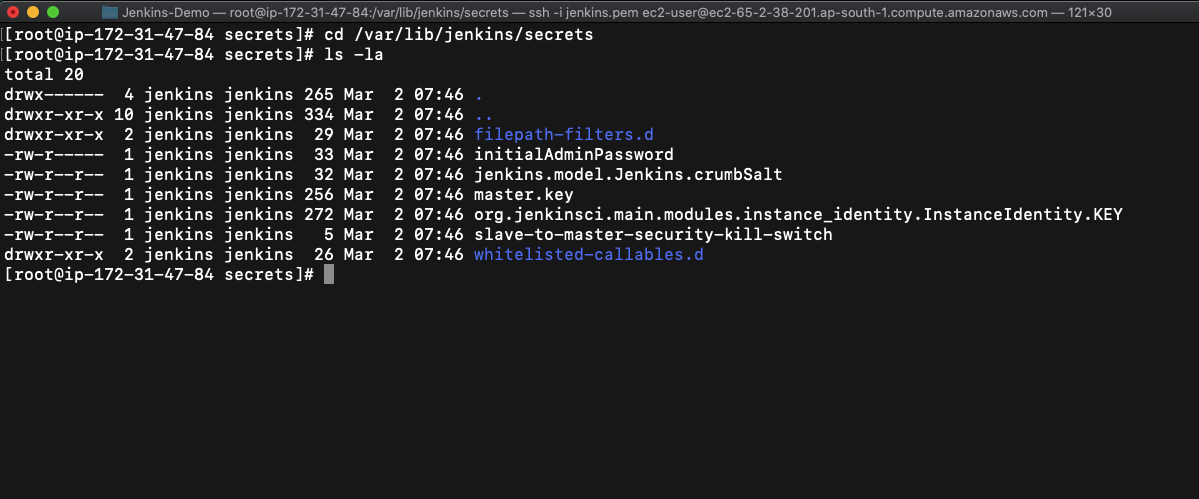
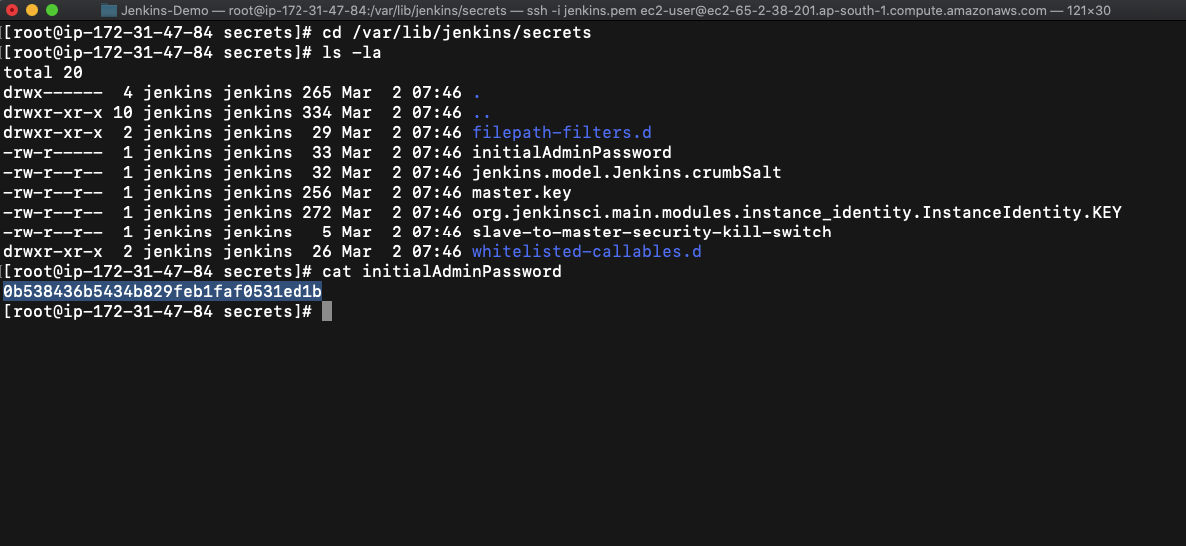
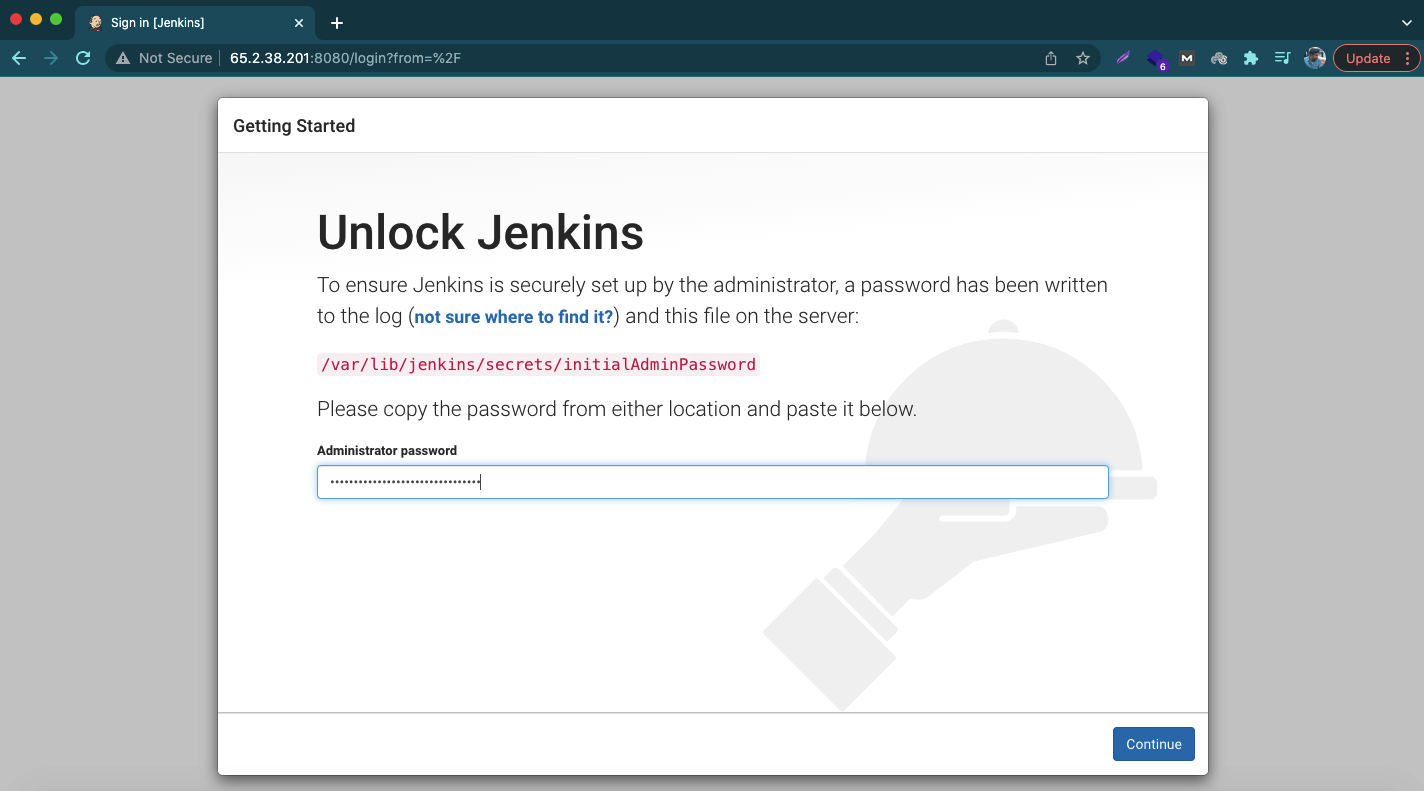
You should be able to see the above page if you are following along with me. Now, we need to unlock Jenkins by using an admin password. To fetch the admin password, run the following commands:
sudo su
cd /var/lib/jenkins/secrets/
cat initialAdminPassword
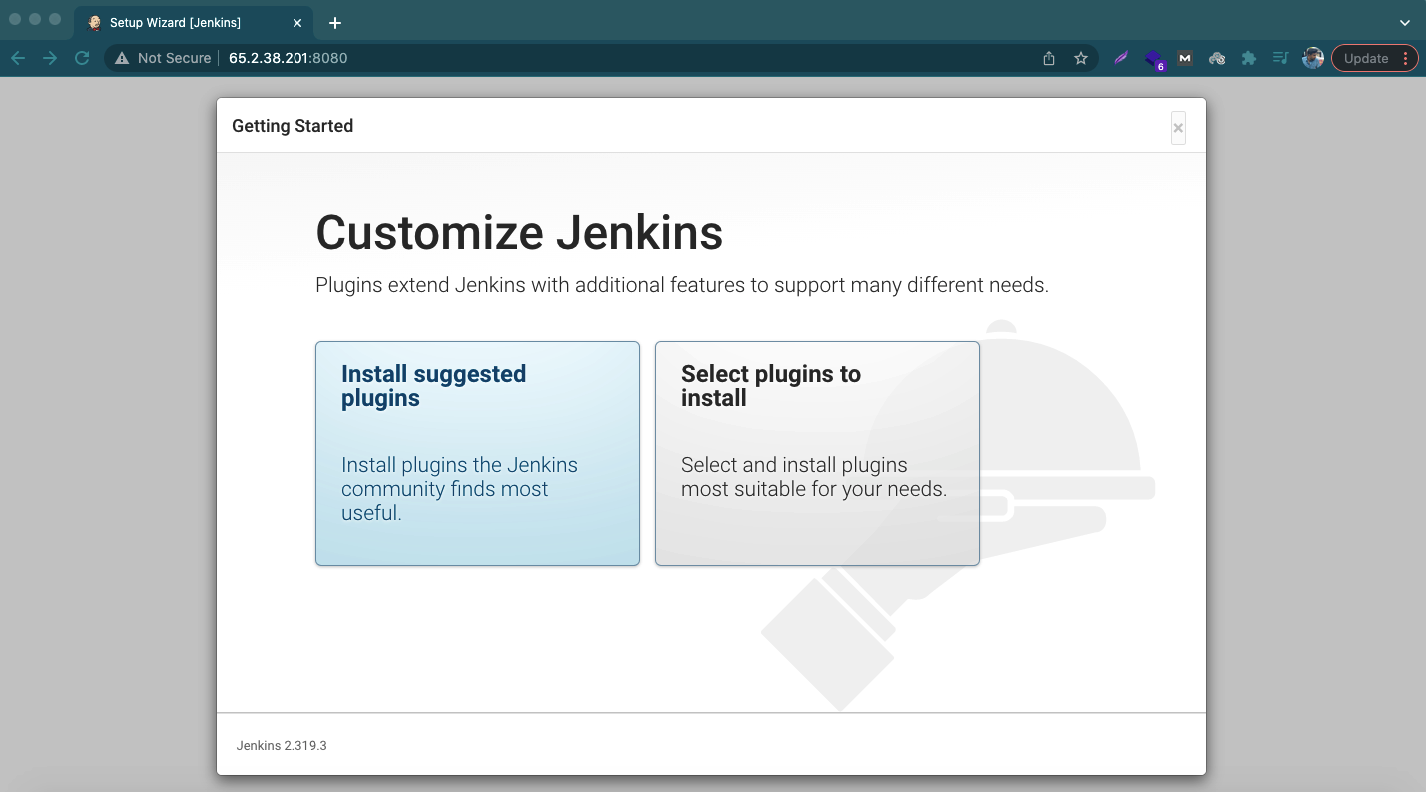
Install suggested plugins.
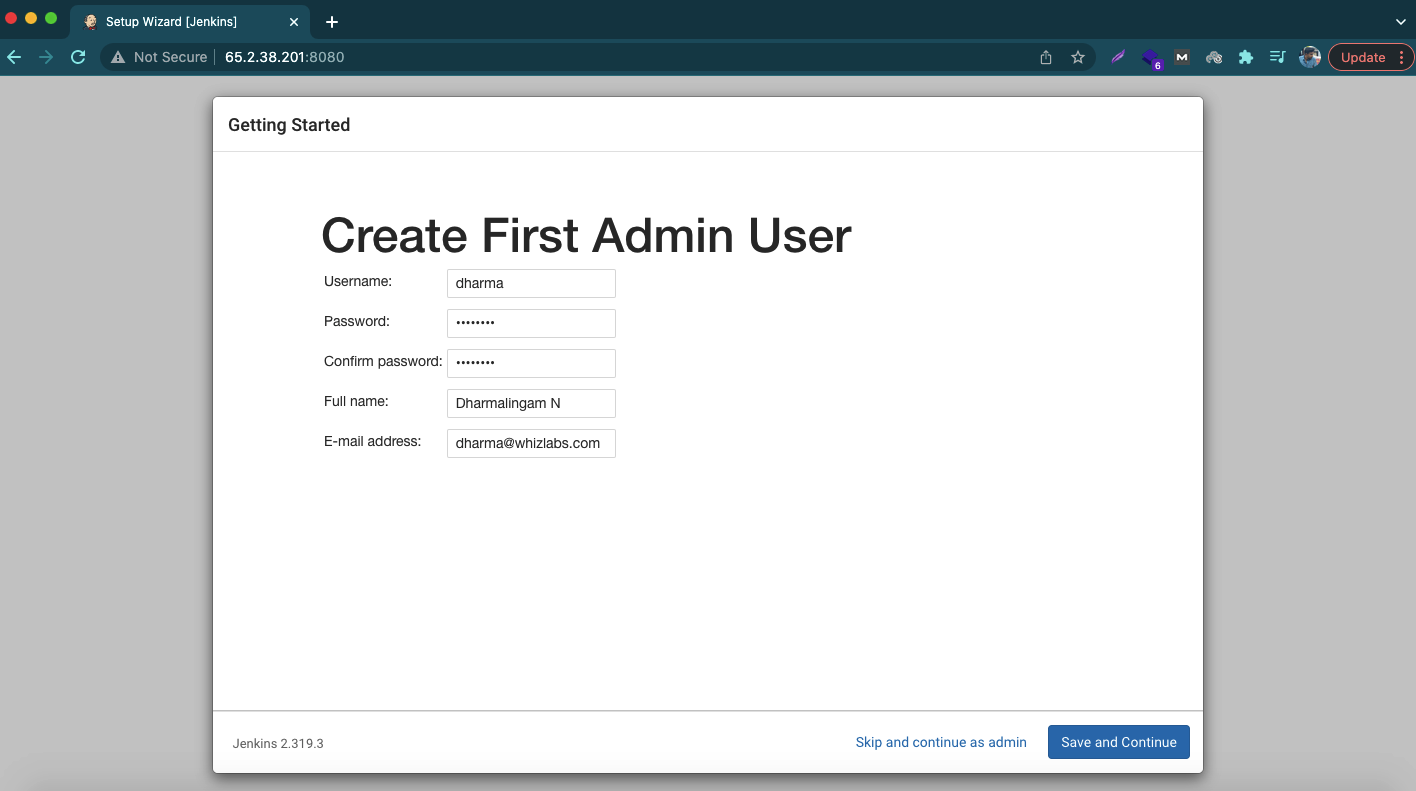
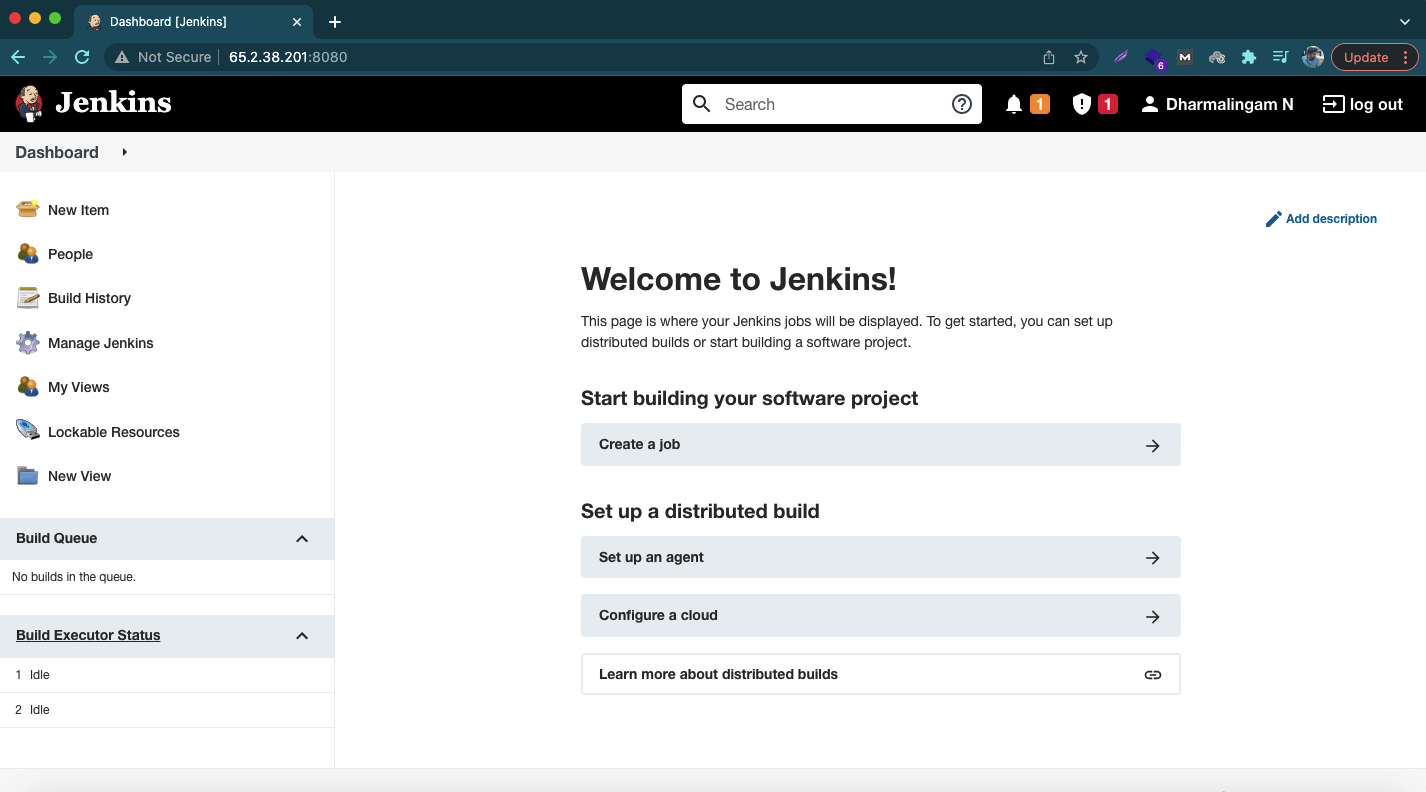
We just need to create a first admin user and we are ready to play with Jenkins now.
Also Read : Getting Started: Introduction to Jenkins
Summary
Hope you have enjoyed this detailed Jenkins tutorial. We have learned how to install and configure Jenkins on amazon EC2 in this article. This article covers some of the topics in CloudBees Jenkins certification exam syllabus. We will learn how to create Jenkins jobs, builds and pipelines in upcoming articles. Stay tuned. Thanks for reading!
- Top 10 Highest Paying Cloud Certifications in 2024 - March 1, 2023
- 12 AWS Certifications – Which One Should I Choose? - February 22, 2023
- 11 Kubernetes Security Best Practices you should follow in 2024 - May 30, 2022
- How to run Kubernetes on AWS – A detailed Guide! - May 30, 2022
- Free questions on CompTIA Network+ (N10-008) Certification Exam - April 13, 2022
- 30 Free Questions on Microsoft Azure AI Fundamentals (AI-900) - March 25, 2022
- How to Integrate Jenkins with GitHub? - March 22, 2022
- How to Create CI/CD Pipeline Inside Jenkins ? - March 22, 2022

