In this article, we are going to learn – How to run Kubernetes on the AWS platform. Kubernetes is the most popular and open-source container orchestration platform. Kubernetes (K8S) automates most of the manual tasks involved in deploying and managing containerized applications. Amazon Web Services (AWS) is the top Cloud service provider and has a wide range of services with high availability.
In this article, we will see what are the different options available to set up a Kubernetes cluster on AWS and how to do it.
- Creating a cluster with kobs
- Kubernetes Operations or kops is an open-source project used to set up production-grade Kubernetes clusters on Amazon Web Services (AWS) (officially supported), Google Cloud, DigitalOcean, and OpenStack.
- Creating a cluster with Amazon Elastic Kubernetes Service (EKS)
- Amazon Elastic Kubernetes Service or EKS is a fully managed Kubernetes service provided by Amazon.
- Creating a cluster with Rancher
- Rancher is another Kubernetes management platform to deploy Kubernetes and containers. A rancher runs on the RancherOS which is available as Amazon Machine Image (AMI) and can be deployed on the EC2 instances.
- Creating a cluster with Terraform
- Terraform is another popular Infrastructure as a code (IaC) tool that can deploy containerized applications to Kubernetes clusters running on AWS.
Before learning the Kubernetes deployments option on the AWS, let us make sure we have the following skills which will be useful in understanding the AWS Kubernetes deployments.
- Linux administration, Command Line Interface, YAML
- Familiarity with AWS core services like IAM, VPC, EC2, etc
- Knowledge of containers (preferably Docker) and understanding of the difference between Virtual Machines (VMs) and Containers.
We will be using Command Line Interface (CLI) to use Kops and deploy Kubernetes on AWS. Before we start the deployment, let’s set up the environment.
Prerequisites before deploying Kubernetes on AWS
- AWS Account (You can use Whizlabs’s AWS Hands-On Labs Environment)
- EC2 Instance (Ubuntu)
- S3 Bucket
- IAM role with sufficient permissions
- Domain name
- Kubectl, kops, and AWS CLI tools are installed ( I have these installed on my system already. you can follow the links provided below to install them)
Install kubectl
There are multiple ways to install kubectl. You can follow this link and follow the steps to install kubectl.
Install kops
Follow the steps in this link to install kops.
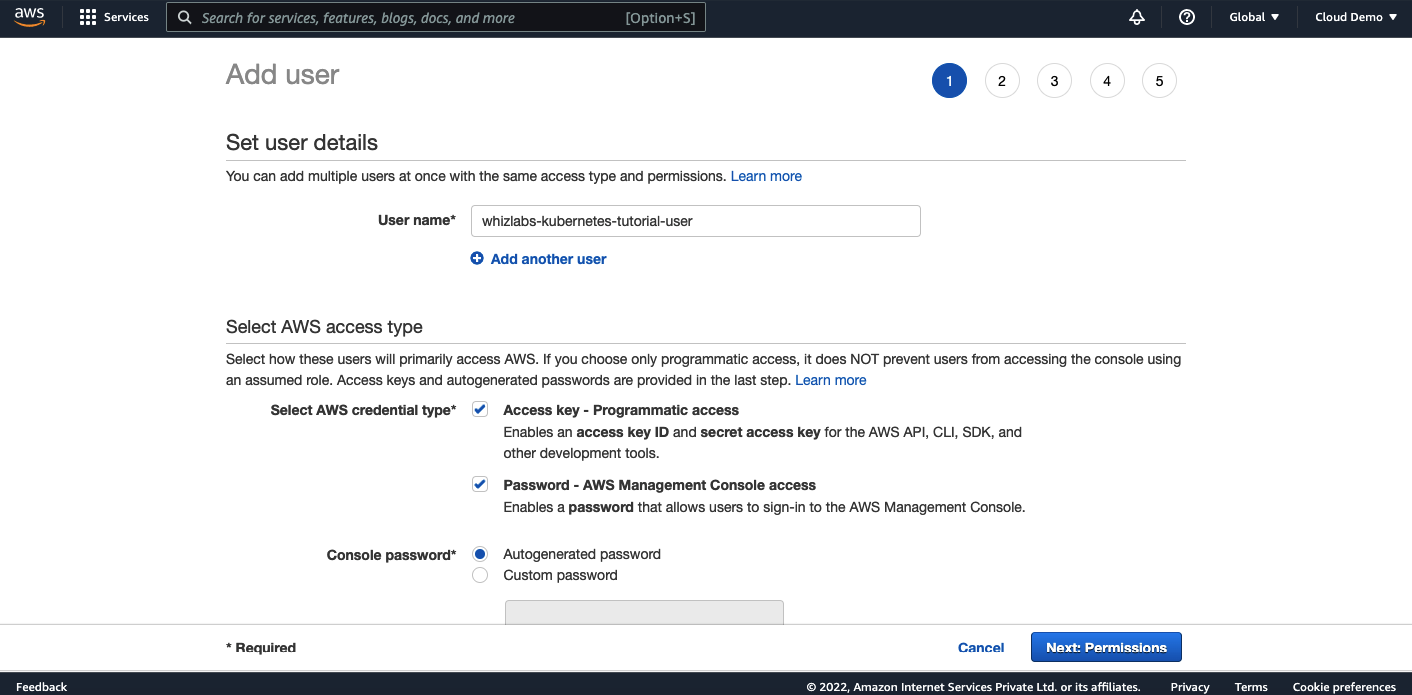
Create an IAM user with the necessary permissions
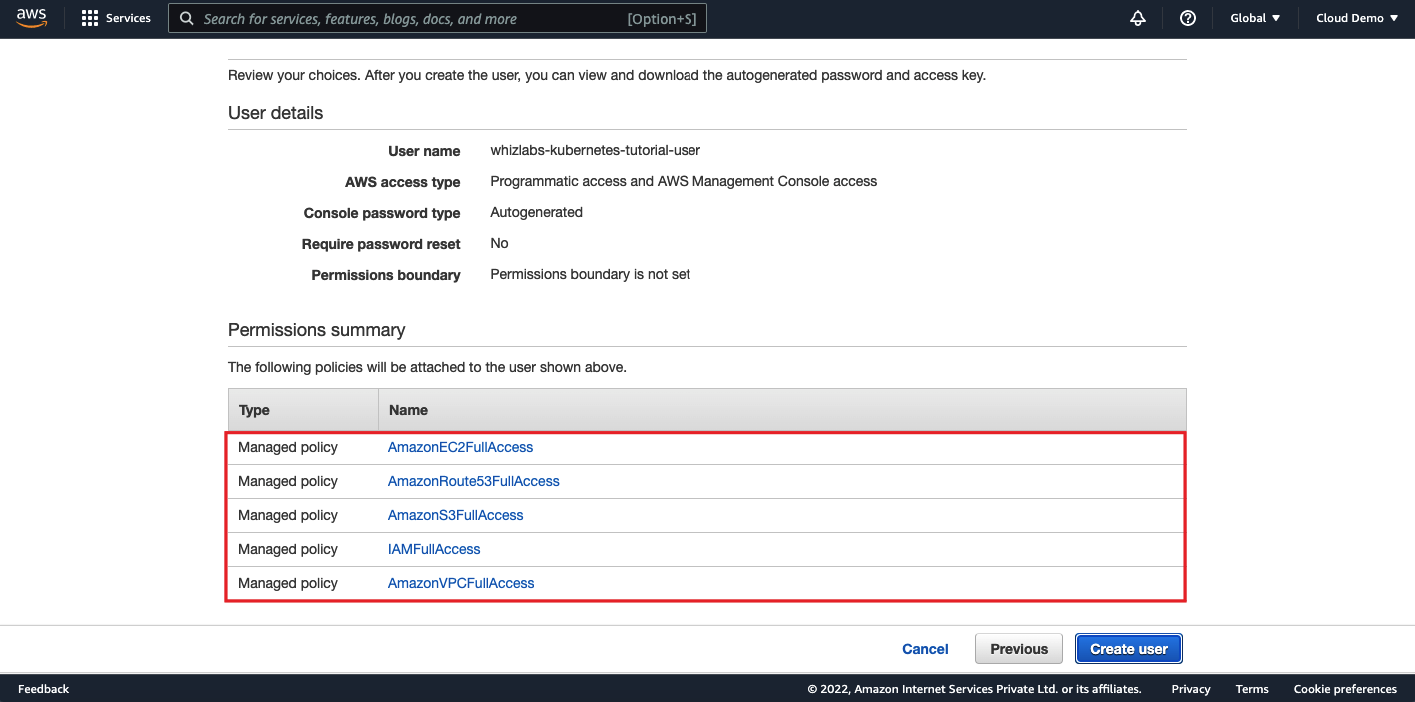
Let us create an IAM user and assign the following permissions for kops to run properly.
- AmazonEC2FullAccess
- AmazonRoute53FullAccess
- AmazonS3FullAccess
- IAMFullAccess
- AmazonVPCFullAccess
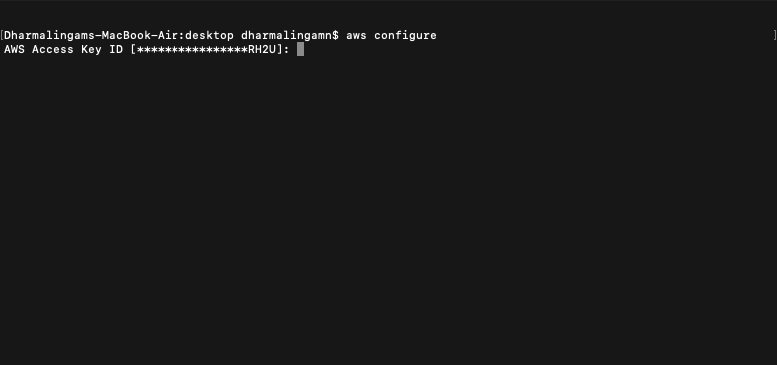
We will be using this user’s credentials to run CLI commands. So we need to configure AWS CLI with this user’s credentials. To configure, run the following command:
AWS configure
Creating an S3 bucket for Cluster State Storage
In this step, we will create an S3 bucket named as “whizlabs-kubernetes-demo”. This bucket will be used by kops to store the state of the clusters.
To create a bucket, run the following command:
aws s3api create-bucket –bucket whizlabs-kubernetes-demo LocationConstraint=ap-south-1
Now, run the following command to enable bucket versioning:
aws s3api put-bucket-versioning –bucket whizlabs-kubernetes-demo –versioning-configuration Status=Enabled
DNS Setup
DNS is needed by worker nodes to discover the master and also needed by the master node to discover all the etcd servers. You can use either public or private DNS. In this tutorial, we will be using simple private DNS to create a cluster.
Creating a Kubernetes Cluster
Let us run the following command and create 1 master(t2.medium) and 2 nodes(t2.micro) clusters in the ap-south-1 region.
kops create cluster \ –name my-cluster.k8s.local \ –zones ap-south-1 \ –dns private \ –master-size=t2.medium \ –master-count=1 \ –node-size=t2.micro \ –node-count=2 \ –state s3://my-cluster-state \ –yes
Setting up Rancher
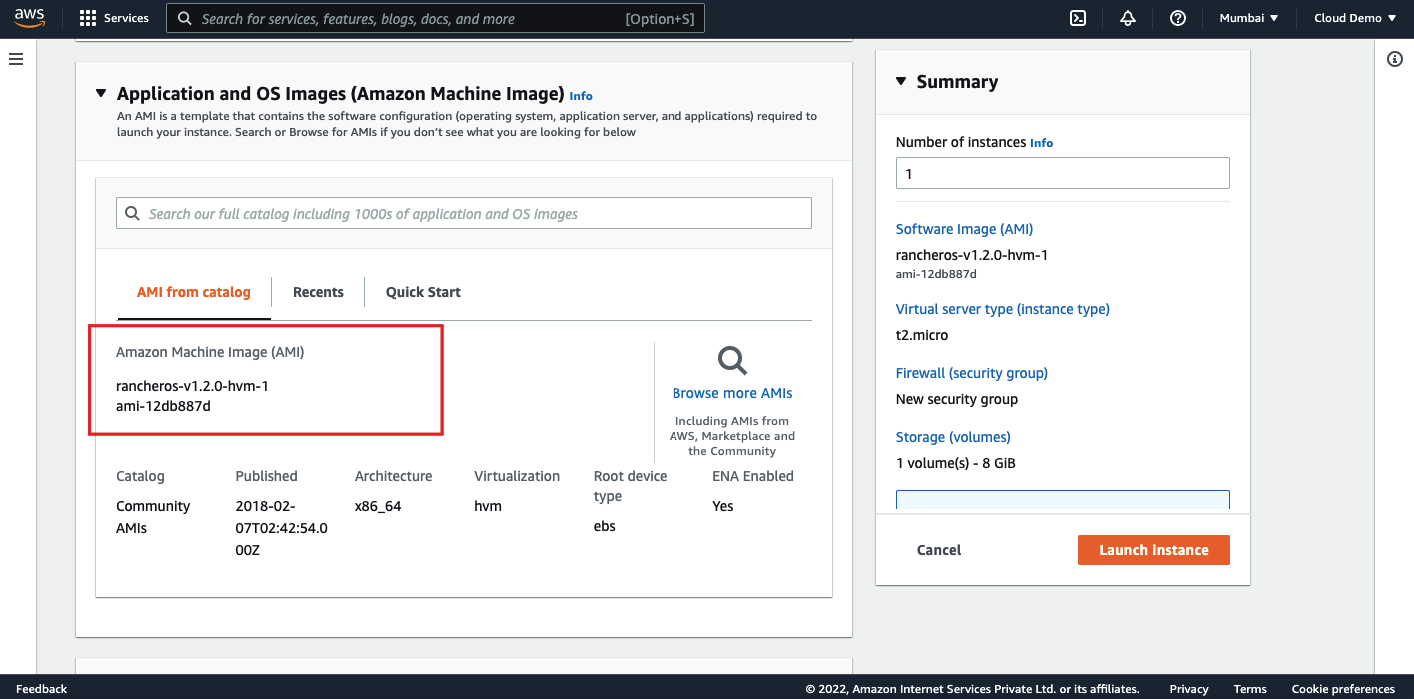
Let us create an EC2 instance with the Amazon Machine Image (AMI). Allow the HTTP traffic (port 8080) and launch the instance.
Once the instance is created and running, connect to the instance via SSH and run the following command to start the rancher server.
sudo docker run -d –restart=unless-stopped -p 8080:8080 rancher/server
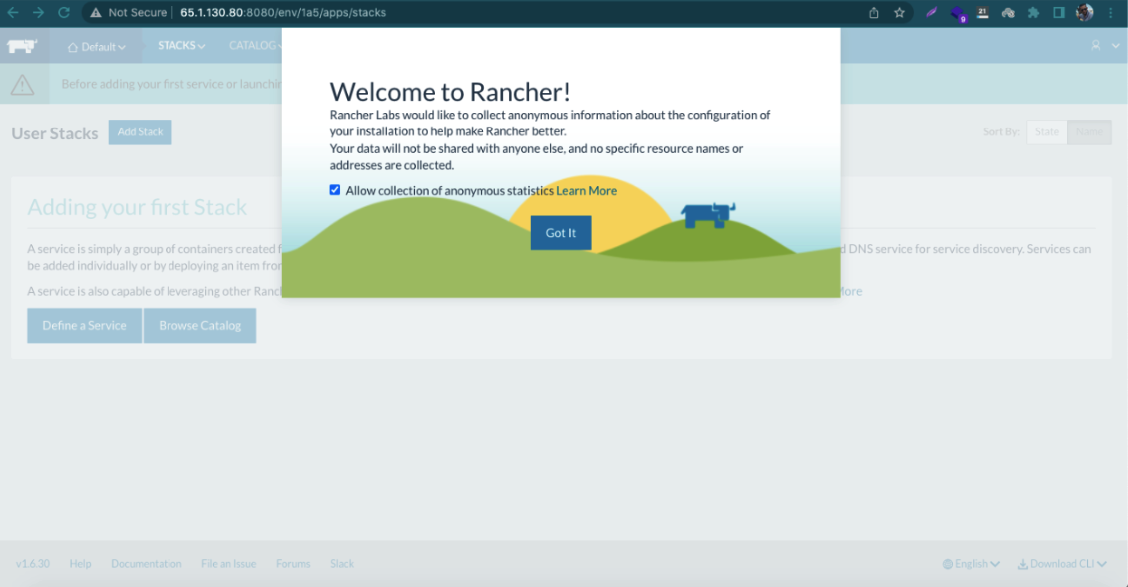
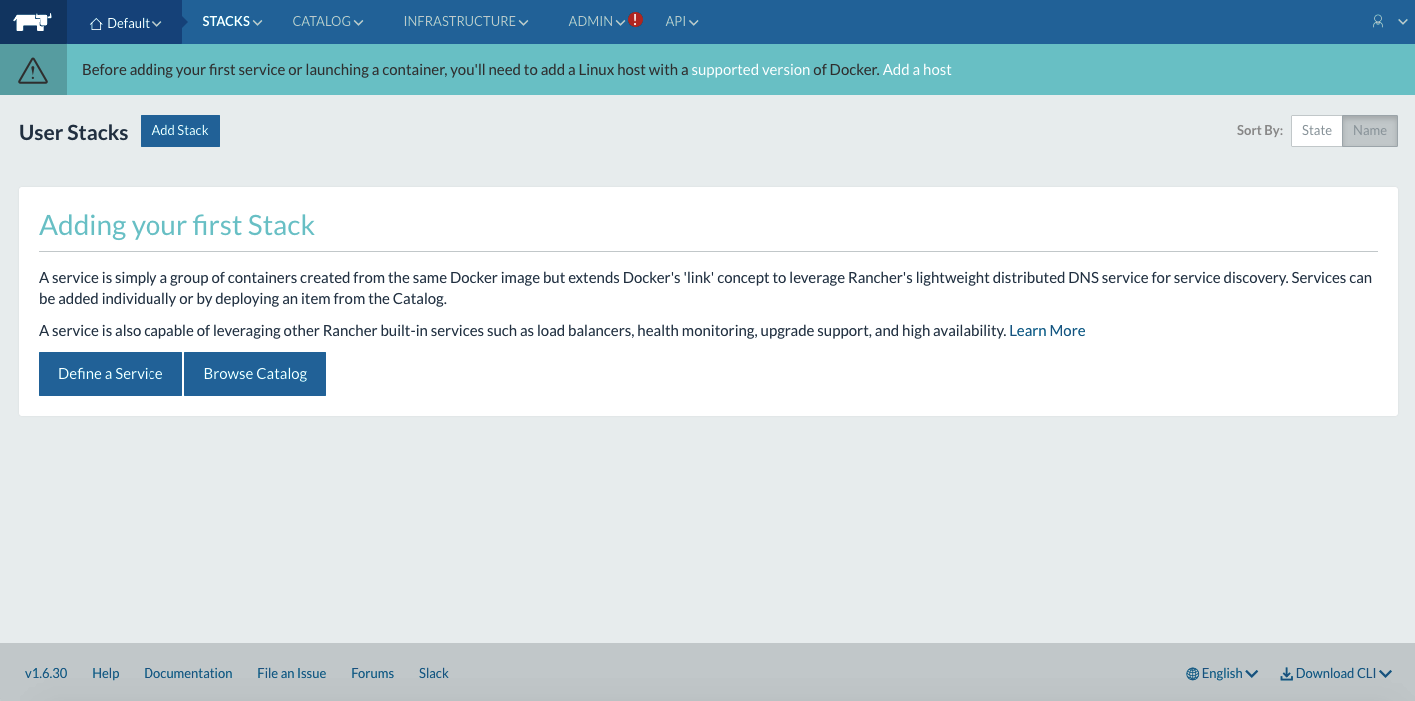
Once this is started, we can access the Rancher UI on the port 8080 of the EC2 instance.
Creating a Kubernetes Cluster via Rancher in AWS
Kubernetes Environment Template
Create the Kubernetes Cluster (Rancher UI)
There are 3 ways to create a Kubernetes cluster using Rancher.
- Rancher UI
- Rancher API
- Rancher CLI
Create Kubernetes Cluster on Amazon EKS
As you know that Amazon EKS is a fully-managed Kubernetes service. AWS will manage the master node. AWS itself will create a master node and install all the necessary applications like container runtime, Kubernetes master processes, etc. Also, AWS takes care of the backups and scaling. One of the other benefits of using Amazon EKS is, it can be integrated with other AWS services like Amazon CloudWatch, Route53, etc.
There are multiple ways to create an EKS cluster. In this method, we will be creating an EKS cluster from the AWS console UI.
Before creating a cluster, let’s create an IAM user with the necessary permissions.
Prerequisites
- An AWS account with admin access
- AWS CLI access to use kubectl
- An EC2 instance (to manage cluster using kubectl)
Steps Involved in Creating Kubernetes Cluster using EKS:
- Create an IAM role for EKS Cluster
- Create VPC for the EKS Cluster
- Creating an EKS Cluster
- Setting up IAM authenticator and Kubectl utility
- Create IAM role for EKS Worker Nodes
- Creating Worker Nodes
- Deploy an application
Create an IAM role for EKS Cluster
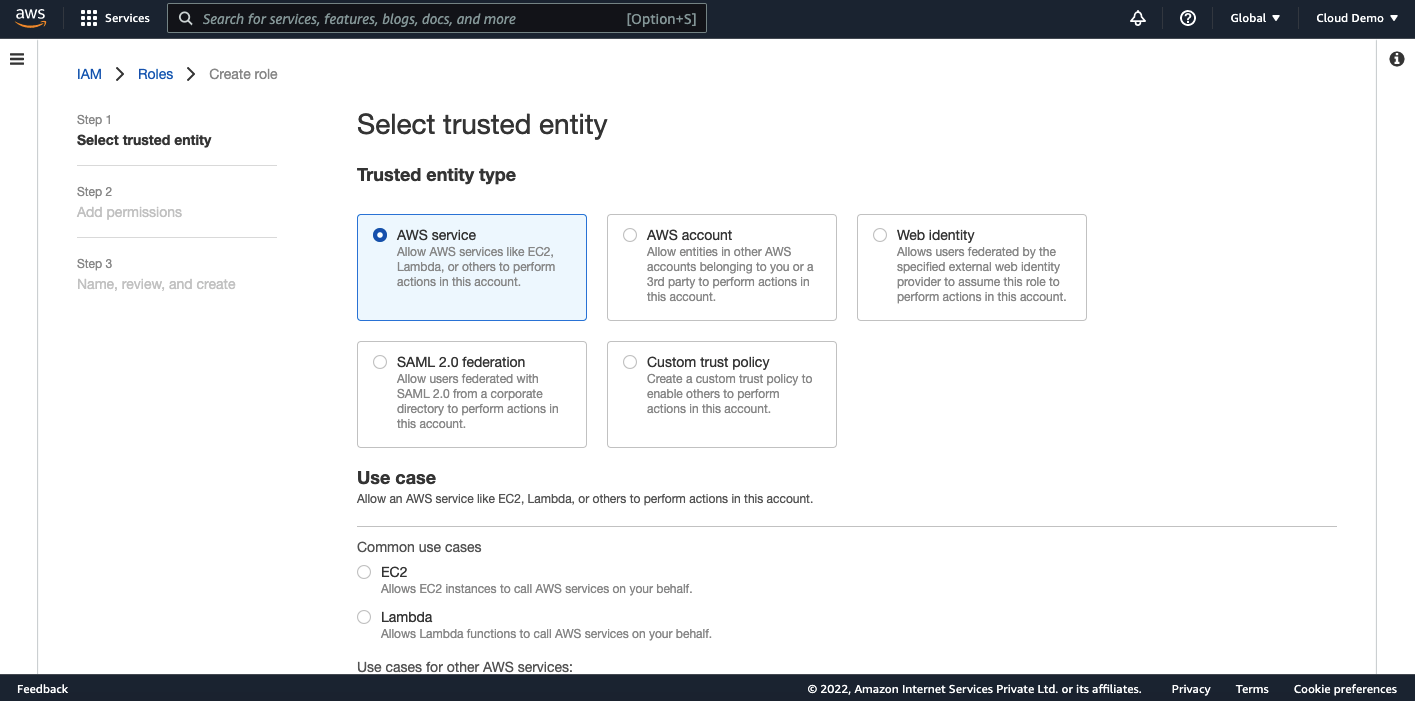
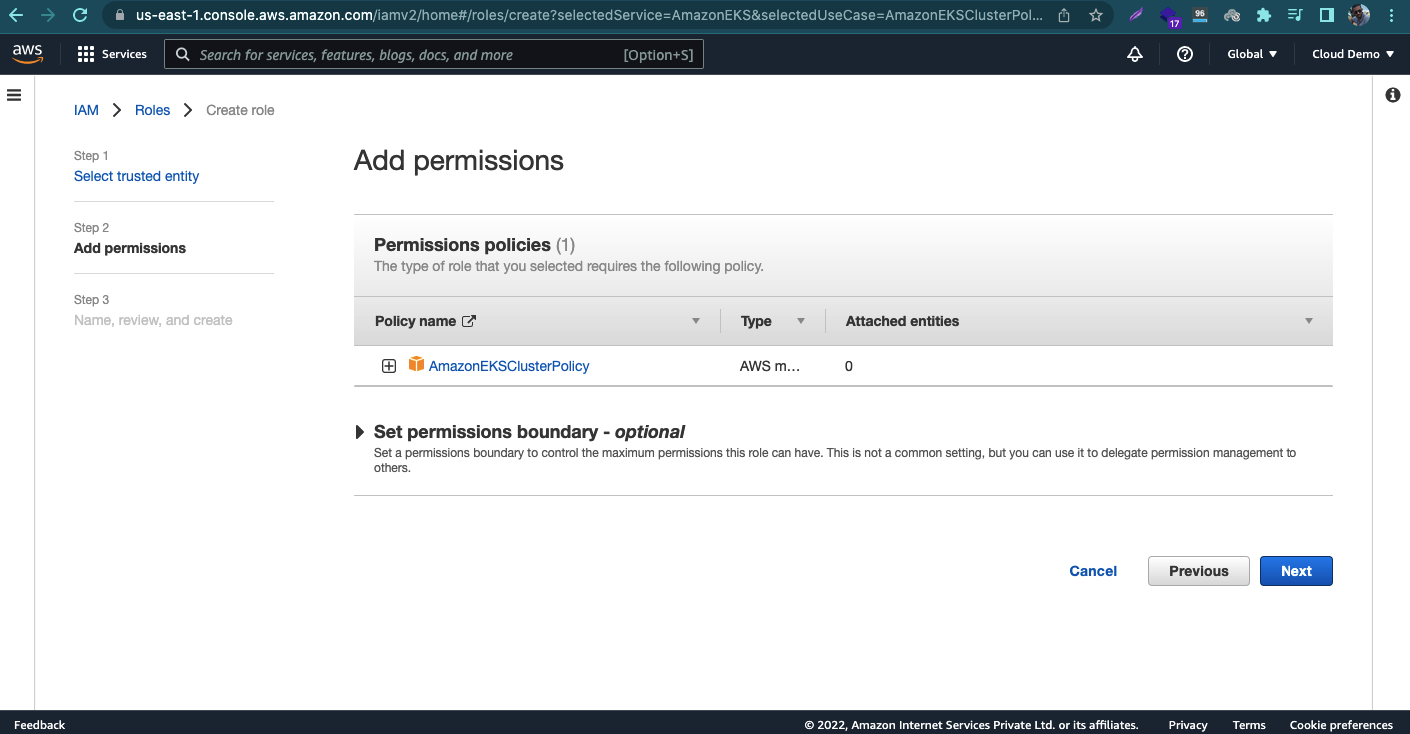
Open AWS Console and navigate to IAM then select roles. Click on “Create Role”.
Select the service as “EKS” and select the use case as “EKS-Cluster”.
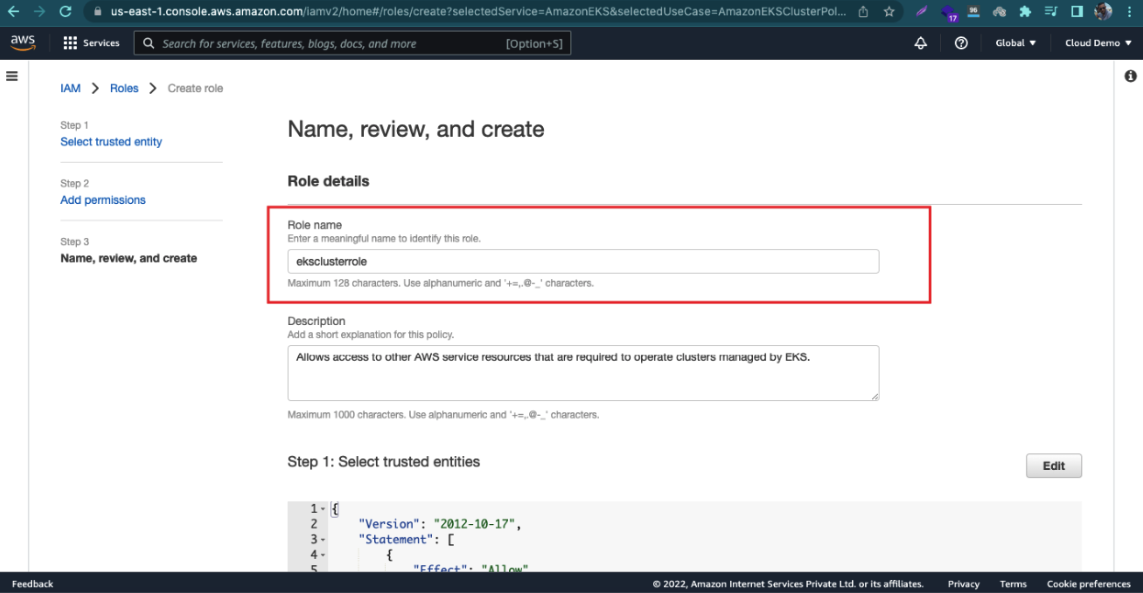
Give a name to the role and click on create role.
I have created a role with the name “eksclusterrole” for this tutorial.
Create VPC for the EKS Cluster
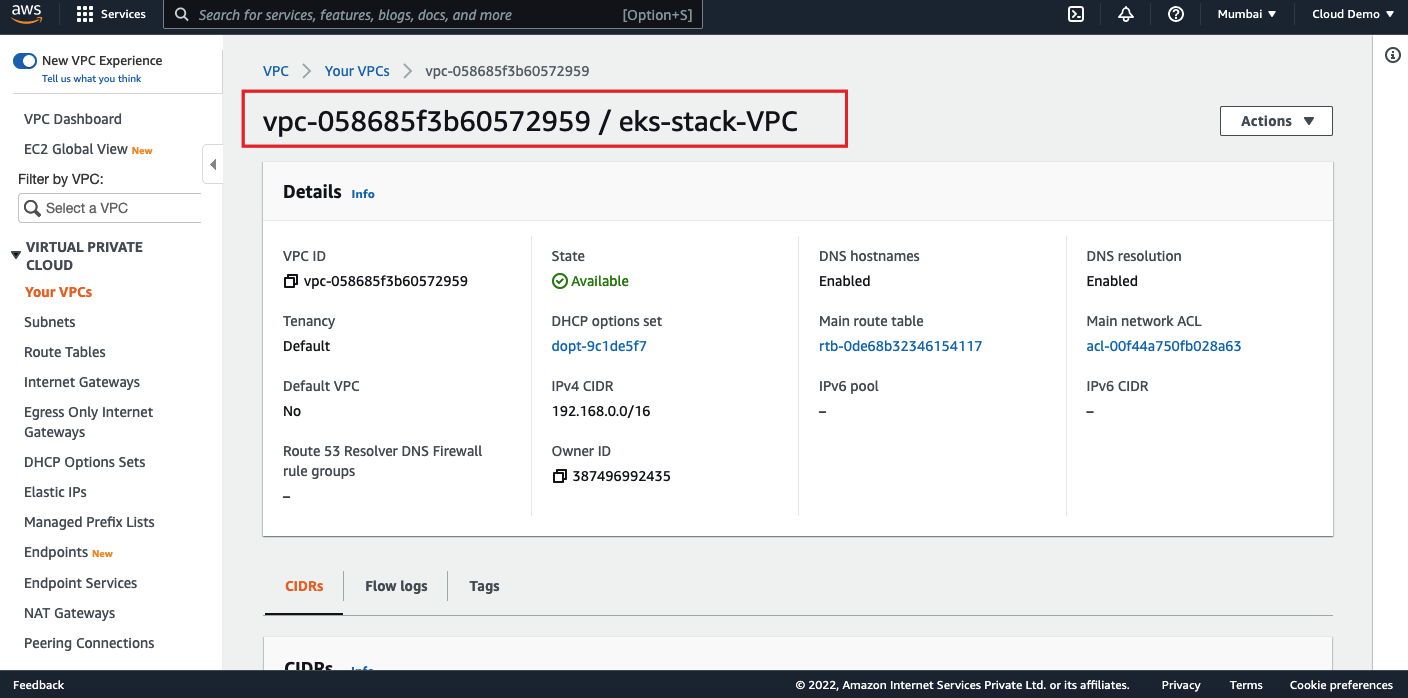
The next step is to create a Virtual Private Cloud (VPC) for the EKS cluster. We can navigate to the VPC section on the AWS Console and create a new VPC. In this tutorial, I will create a VPC from the CloudFormation template.
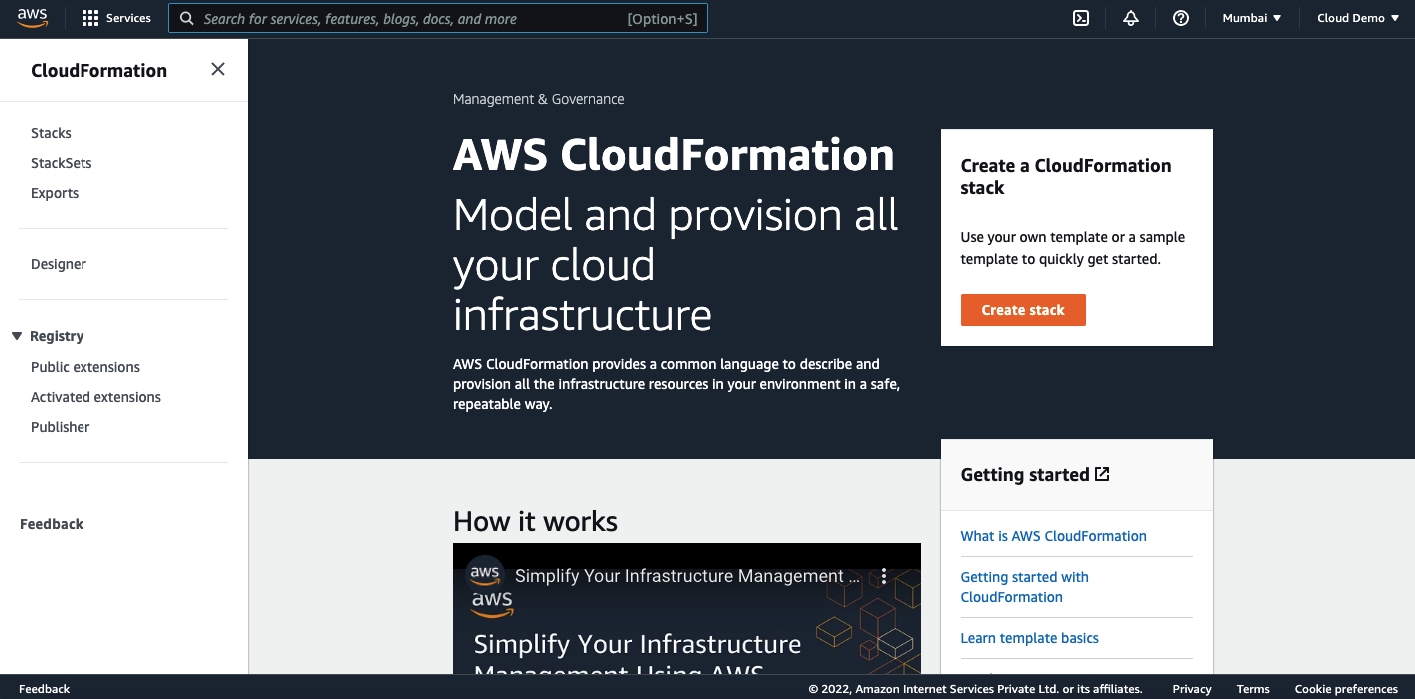
Navigate to CloudFormation on the AWS Console.
I am going to use the CloudFormation template to create VPC. The following template will create a VPC with 2 public subnets and 2 private subnets.
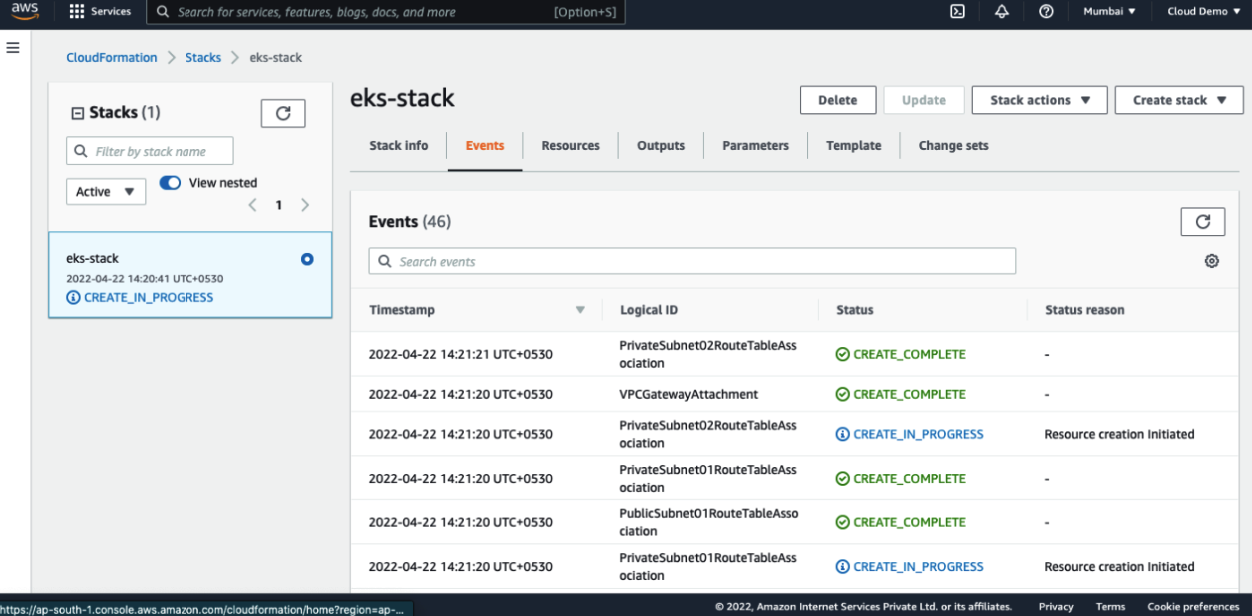
I have given the template link below. You can use it if needed. Upload the YML file and give a name and click on create stack.
Wait for a few seconds, you can see the status as create complete. Go back to the VPC section, you can see the VPC has been created.
Creating an Elastic Kubernetes Service (EKS) Cluster
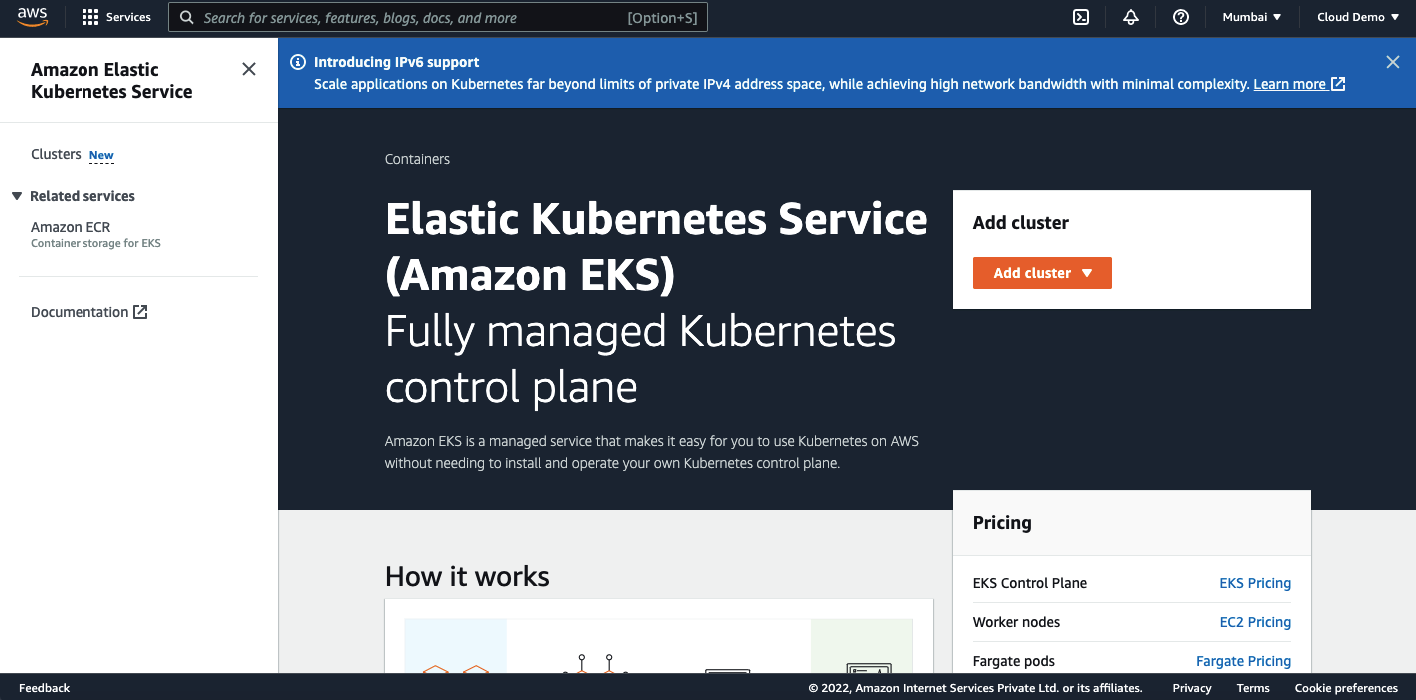
Okay. Now, we have created an IAM role and a VPC. The next step is to create an EKS cluster. Navigate to the EKS Cluster on AWS console.
Click on the Add Cluster button and select create. Give a name and select the Kubernetes version (in my case, I have selected Kubernetes v1.21). You should be able to see the IAM role which we have created in the previous step, if not you can select one. Click on the Next.
You will land up in the Networking section and we need to select the dedicated VPC. Select the correct VPC which we have created using the CloudFormation stack.
Select the security group which we have created with the CloudFormation stack.
There are 3 different options available for the Cluster endpoint access. Public, Public & Private, Private.
Public means the cluster endpoint or cluster API is accessible from outside the VPC. Still the worker node traffic also leave a VPC to connect to the endpoint.
In the Public & Private, only the cluster endpoint will be accessible from outside the cluster and the traffic of the worker nodes will not leave the VPC.
Private means the cluster endpoint will be accessible only from the dedicated VPC and worker nodes traffic also stays within the VPC.
In this tutorial we will select Public & Private. You can enable the logging on the next page if you want. Verify your selections and click on the create. As soon as you click the button the status will show as creating. Wait a few seconds and check if the status is changed from creating to active.
Summary
We have successfully created an EKS cluster on AWS. We will show on how to set up a control plane and worker nodes in the upcoming article. Hope you have enjoyed this article and learned about deploying Kubernetes on AWS. Thanks for reading!
- Top 10 Highest Paying Cloud Certifications in 2024 - March 1, 2023
- 12 AWS Certifications – Which One Should I Choose? - February 22, 2023
- 11 Kubernetes Security Best Practices you should follow in 2024 - May 30, 2022
- How to run Kubernetes on AWS – A detailed Guide! - May 30, 2022
- Free questions on CompTIA Network+ (N10-008) Certification Exam - April 13, 2022
- 30 Free Questions on Microsoft Azure AI Fundamentals (AI-900) - March 25, 2022
- How to Integrate Jenkins with GitHub? - March 22, 2022
- How to Create CI/CD Pipeline Inside Jenkins ? - March 22, 2022

